[Customer submission] Building a titanium tip rod for horse mackerel fishing with a removable grip
Hello!
This is Kamimura from Hitotoki Works.
We received a photo from a customer of a rod built with a removable grip titanium tip for horse mackerel fishing!
@kise3500 , who provided the photo, is an angler who has only been fishing for four years.
I never thought I'd be able to make perfect rods in just my fourth year...
He often comes to visit the Hitotoki Works workshop and is always eager to learn about rod building.
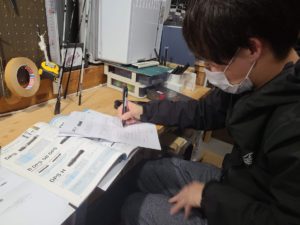
The rod that the rapidly growing @kise3500 has created this time is a fun rod with a detachable grip.
How to make the grip detachable?
Of course, we will use the Grip Joint System , which is Hitotoki Works' signature product, to make the rod and grip detachable!
The grip joint system has been adopted so that the rod can be changed with one touch and that fishing for not only horse mackerel but also trout and other fish can be done with just one grip.

Manufacturing of removable grips
Now, let's start with making the grip.
The finished photo is here↓
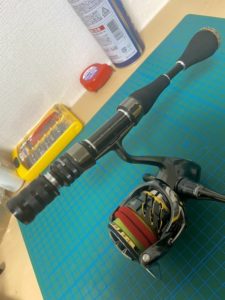
The front grip part is a grip joint system.
This grip joint system grasps and secures the rod with the ferrule attached, allowing you to change the rod to suit the situation!
Parts used in the grip
Front grip part: Grip joint system (BK)
Decoration ring: S16DR-15 (silver) x 4
Reel seat: JustAce SKDPS-KN16IC
Hood nut parts: KAR-16 (BK)
Reel seat carbon pipe: Detachable carbon pipe (for female reels)
Rear grip: EKTG22-7.5
Winding Check: WC-7.5 (Silver)
End grip: EKTG27-7.5
End cap: BEC27-5
Step 1 Making the hood nut parts
First, we will make the hood nut part that will secure the reel.
Cut the hood nut parts to fit the parts you want to cover.
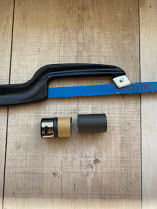
Once the cutting is done, glue the parts to be covered with two-component epoxy glue.
This time, the KAR-16 was used.
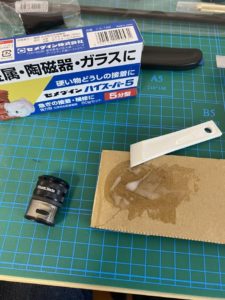
Step 2 Gluing the reel seat
Next, use only the removable female carbon pipe to glue the reel seat.
There is a small gap between the carbon pipe and the screw, so fill it with Tesa tape.
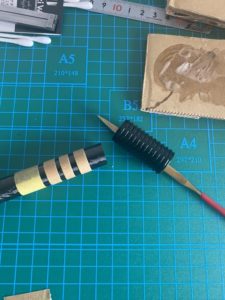
Once it's neither too tight nor too loose, glue in the screws.
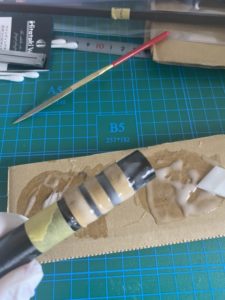
The decorative parts, which are made up of two S16DR-15 pieces, are also glued together!
I've never tried this combination before, but it looks stylish and cool.
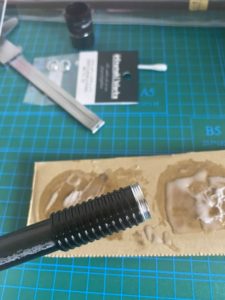
The grip joint system is a part that is subjected to force, so we thoroughly roughen the inside of the carbon pipe and perform the footing work.
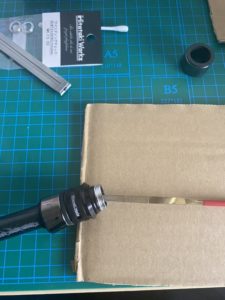
Gluing completed!
The jet black knurling is bold and cool!
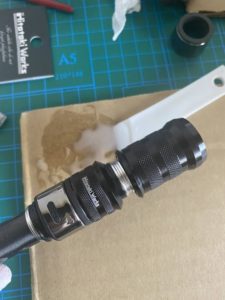
The decorative parts S16DR-15 are placed on both sides of the carbon pipe and the reel seat parts are glued on the ends.
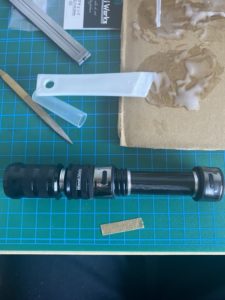
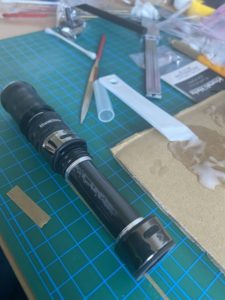
Step 3: Making the rear end grip
All that's left is to make the rear grip and end grip parts under the reel seat and then it'll be complete.
For the blanks, I chose the AJ STREAM53 from the Logigear series, which I developed during my time with Ishiguro!
The grip part is removable, and since we did not want to change the overall length of the rod, the base of the blank was cut to the length of the grip.
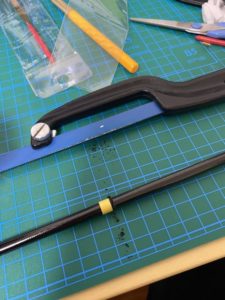
We will use the cut carbon scraps to create the base for the rear end grip.
In order to glue the scrap material and the carbon pipe of the reel seat, the inner diameter is adjusted using Tesa tape and then glued.
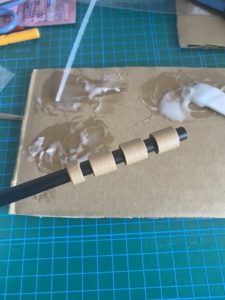
Once the adhesive has hardened, glue the rear grip, end grip, winding check, and end cap all together and you're done!
So cool!
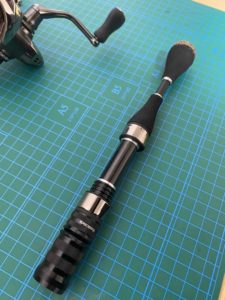
Although this photo was taken after coating, the ferrules have also been glued and the gluing work is now complete!
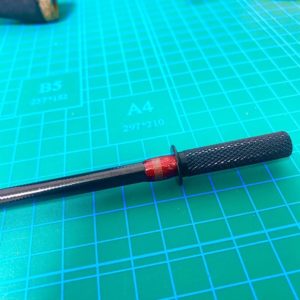
This creates a mechanism for attaching and detaching the rod and grip.
Step 4 Attaching the titanium tip
Before titanium tipped rod building became so popular, I had a lot of experience gluing titanium tips.
It's a nostalgic task (>_<)
For the titanium tip, I chose the two-stage taper titanium tip that I also developed during my time with Ishiguro.
First, cut the tip of the Logigear AJ STREAM53 by about 15 mm.
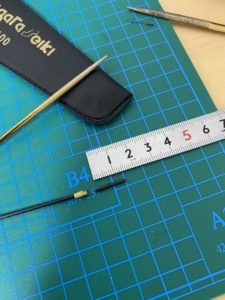
Use a file to file the inside of the tip to match the insertion shape of the titanium tip.
At this time, the thickness of the tip becomes very thin, so please use tape or something to prevent it from cracking before proceeding.
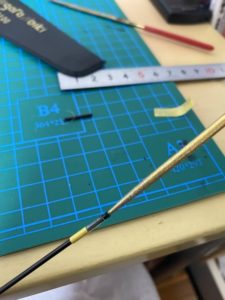
Once the process of widening the inner diameter is complete, the titanium tip is glued in place with metal lock.
At this point, you may feel the urge to bend the tip, but resist the urge as the thin part will cause you to avoid bending it...lol
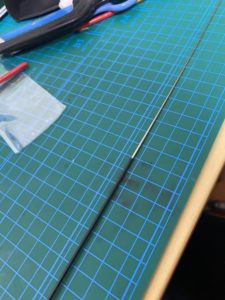
Step 5: Installing the guide
Once you have confirmed the position of the spine (the backbone of the blank), glue the top guide in place as well.
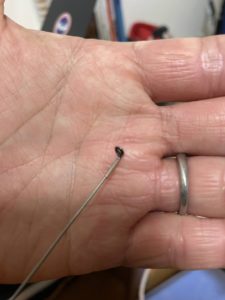
Temporarily fasten the guide so that it matches the orientation of the top guide.
This time, the guide setting is a stream spinning guide set (for 5 feet class) with one T-KTSG4.5 added.
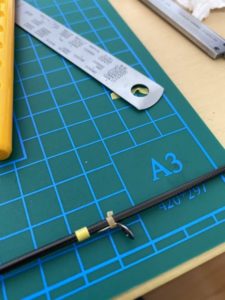
Once the temporary fastening is complete, wind the thread.
This time, we use flashy metallic threads, just like the original rod!
Apparently the titanium tip part was extremely difficult and he went crazy... ^_^;
rest assured.
I think everyone would go crazy at first! lol
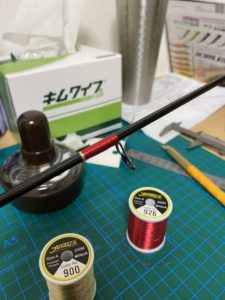
Repeat the coating three times and you're done!
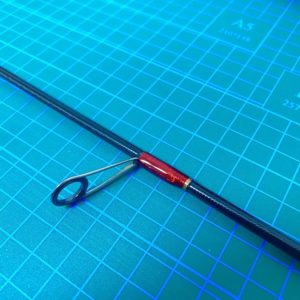
The red metallic thread really stands out against the titanium tip.
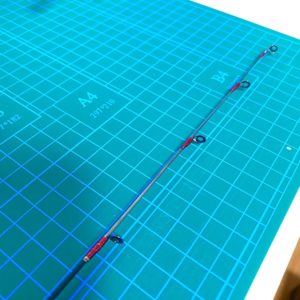
Go fishing at Lake Hamana
He immediately went to Lake Hamana for some light fishing to try out the rod he made himself!
It seems that we didn't catch any horse mackerel, but a seigo seemed to have fun and we took a picture with it along with the rod!
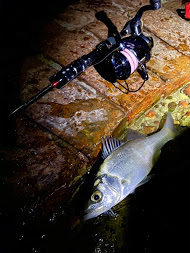
There are also cute rockfish!
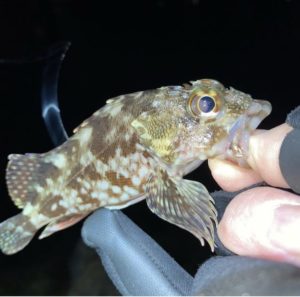
Apparently even with a fish of this size the bite was clear!
It's a titanium tip rod.
If you catch a trout with this rod, we'd love to see some photos!
Thank you for all the photos m(__)m
![[Customer submission] Building a titanium tip rod for horse mackerel fishing with a removable grip](http://shop-hitotokiworks.com/cdn/shop/articles/1607432685278-225x300.jpg?v=1730968710&width=1100)