Hello!
This is Kamimura from Hitotoki Works.
Today, I will introduce you to the basic method of winding thread.
I will explain it in thick words so that it is easy to understand.
How to wind the guide thread
This time, we will not provide a guide, but will instead provide a clear explanation of how to start and end winding the thread that secures the guide.
How to start winding the thread
We will explain how to handle the thread when you start winding it.
Step 1
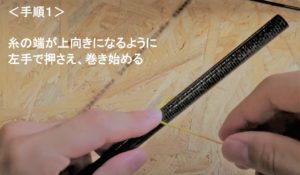
While holding the end of the thread with the index finger of your left hand, rotate your left hand and begin winding it.
Step 2
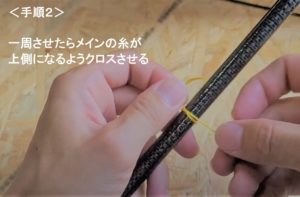
Once the thread has gone around once, cross the main thread on top and wrap the end thread around it.
Step 3
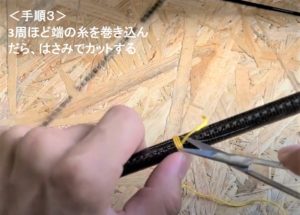
Once you have made about three turns of the main thread, the friction will be sufficient to hold the thread in place, so release your left hand and cut off the excess end of the thread with scissors.
How to handle the end of a thread
This section explains how to finish winding the thread.
Step 4
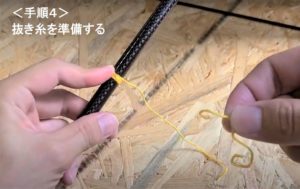
Once you have wrapped the thread up to a position about 3 mm before the end, cut it to about 10 cm and prepare the thread to be removed.
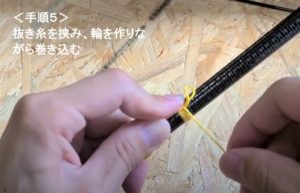
Step 5
While holding the thread in place, wind the thread until you reach the end of the winding.
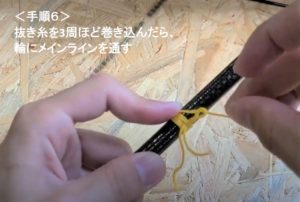
Step 6
Once you have wound the thread all the way to the end, pass the main line through the loop of the thread.
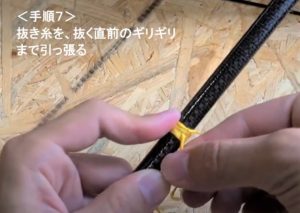
Step 7
Pull until there are no more suture loops.
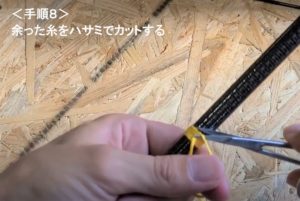
Step 8
Cut off the excess of the main thread with scissors as close as possible.
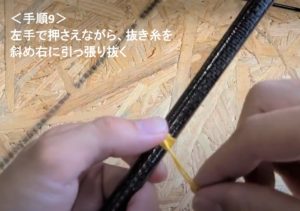
Step 9
While holding down the stitches with your left hand, pull the stitches diagonally downwards and to the right.
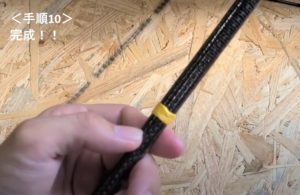
Step 10
Finished!!
This is the basic method of winding thread.
For decorative winding and guide thread winding, we will use the basic winding method introduced here.
