We will introduce how to make a wooden reel seat, which is a frequently asked question.
Here is a picture of the trout grip that features the wooden reel seat introduced this time and Hitotoki Works' original grip joint system attached.
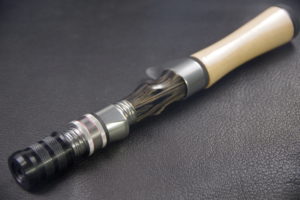
The Grip Joint System allows you to tighten and secure the rod with Champion ferrules.
Parts used

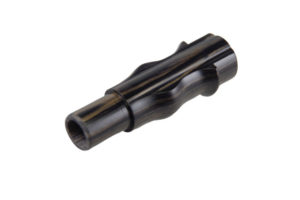
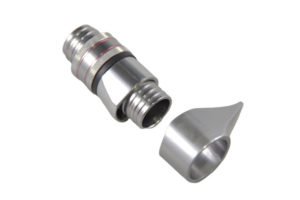
●Metal parts for wood seats B-UMP (S)
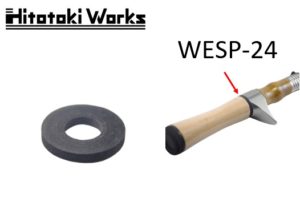
●Wesp-24 EVA spacer for wooden reel seats
High quality cork grip for wood seats C27SHG-11
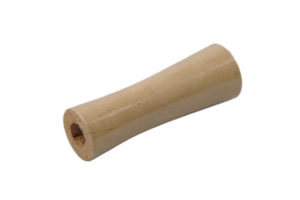
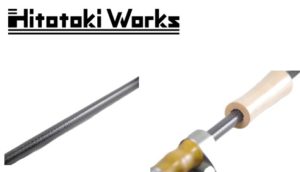
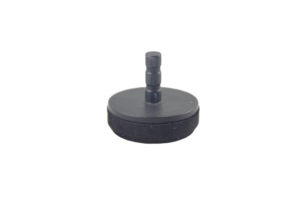
Tools used
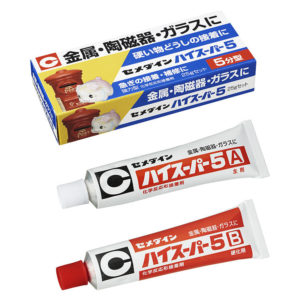
● Two-component epoxy bond
Used for glue reel seats and grip materials.
Spacer tape
When gluing the grip joint system, gaps occur when gluing the butt end, so this can be filled in.

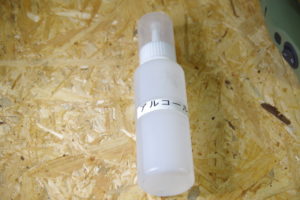
Alcohol
By soaking a tissue in it and wiping it off, the adhesive can be wiped off cleanly. It can be purchased at pharmacies.
If it's too much hassle to prepare them, you can use wet tissues instead.
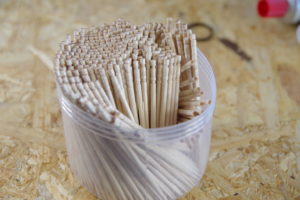
Toothpick
It is convenient for applying adhesive.
It's thin so it's easy to use even in small areas.
Grip Joint System Installation Instructions for Wooden Reel Seat
Grip Joint System Installation
First, we will start by installing the Grip Joint System, which allows the rod with Champion ferrules to be detached.
For ease of understanding, we will start by explaining the top part of the grip, so we will begin with gluing the grip joint system. However, it is also fine to glue the reel seat hardware first.
The screws have a specific orientation, so be careful not to install them upside down!!
There is a gap between the receiving side of the grip joint system that attaches to the reel seat and the reel seat hardware, so I would like to eliminate the gap before gluing it.
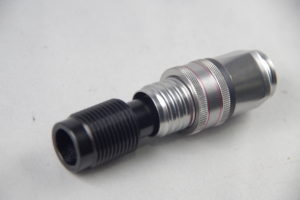
This gap filling process will increase the adhesive strength and ensure a firm centered installation.
Fill the gaps with spacer tape (core tape).
*Hitotoki Works products use carbon spacers which increase sensitivity and adhesive strength, but we will introduce a method of filling in gaps with spacer tape which anyone can do easily.
Wrap a thin strip of gap-filling tape around the inner diameter of the reel seat fitting so that it fits snugly.
When you pass the reel seat hardware through, if it is too tight the adhesive won't get in, and if it's too loose the center won't come out, so adjust it.
In this case too, create a part where the main body and the screw pipe of the reel seat can be directly attached with glue.
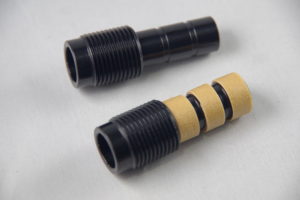
Starting from a position where it is too tight and the strap won't fit in, cut the tape little by little and fill in the gap until it is neither too tight nor too loose.
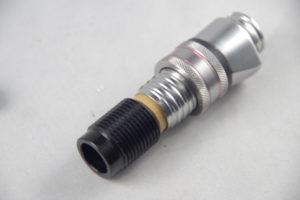
Once there are no gaps, glue them together with epoxy bond.
Since this is an area where force is applied, we recommend using a metal lock, which has strong adhesive power for metal and carbon materials, but epoxy bond can also be used instead.
Applying glue to the inside of the reel seat with a toothpick or similar will help prevent adhesive failure!!
Any excess glue can be cleaned up by wiping it off with a tissue soaked in fuel alcohol, which can be purchased at any pharmacy.
Once the adhesive has hardened, the first stage is complete.
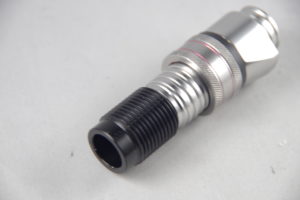
Adhesion of reel seat fittings
Next, glue the reel seat hardware and the reel seat base together.
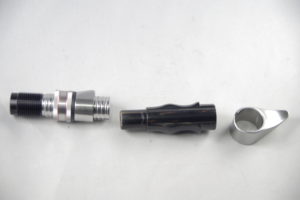
First, the screw side.
The pieces are attached using epoxy glue, but be sure to apply it not only to the adhesive surface of the wood sheet, but also to the inside of the metal fittings before inserting them.
*To increase adhesive strength, roughen the wood adhesive surface with a file or similar to prevent adhesive failure.
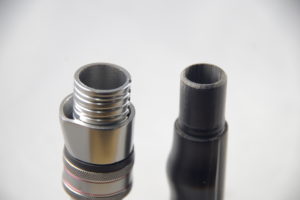
When inserting it, first insert it all the way, then pull it back about 5mm, clean it off with a tissue soaked in alcohol to remove any excess glue, and then insert it again for a neat finish.
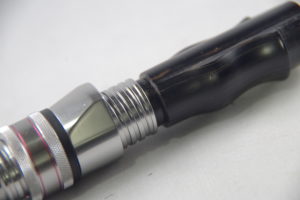
Once inserted, check to see if the line is coming out properly.
Please note that if the line is not extended, the reel will not be able to be secured securely.
There is some play in the hood nut, so make fine adjustments so that the center of the seat base is aligned with the center of the play.
Please be careful as the adhesive may overflow if you make repeated adjustments.
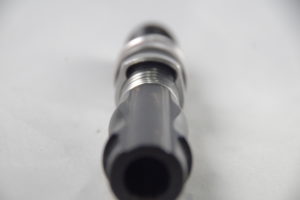
Once the adhesive on the screws and seat base has hardened, glue the end fittings.
*As with the screw side, roughening the wood adhesive surface with a file or similar will increase adhesive strength and make adhesive failure less likely.
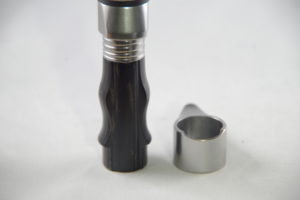
The important thing to note here is that do not apply adhesive to the grooves where the reel feet fit, either on the metal fittings or the seat base.
Be careful as you will not be able to wipe off any excess adhesive.
First, assemble the parts with the adhesive temporarily, check the areas where the metal fittings and the seat base are in contact, and then apply adhesive only to those areas.
Instead of applying the paint right up to the point where it touches, leave about 5mm of space to get a nice finish.
Also, when inserting it, insert it straight in without twisting it.
Just like when gluing screws, insert the screw all the way in, then back it out about 5mm, wipe off any excess glue, and reinsert it.
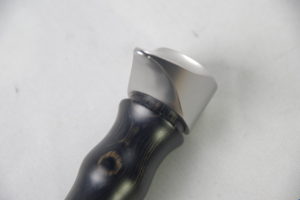
Once inserted, check to see if the line is coming out properly.
Fine-tune so that the groove for inserting the reel foot is centered and you're done.
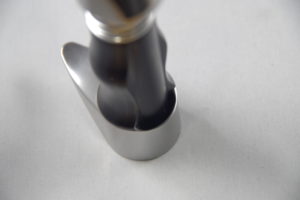
Gluing cork grips
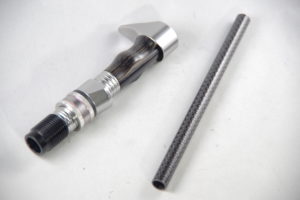
First, glue together the carbon pipe that will serve as the base.
The carbon pipe is 400mm long by itself, so it will be cut to about 162mm.
If you purchase an assembly kit, this step is not necessary as the parts are already cut.
Once the cutting is complete, glue it together with epoxy.
In this case, too, apply adhesive to both the inside of the wood seat and the carbon pipe, then insert it as far as it can.
*Make sure to apply adhesive all the way to the back of the wood sheet.
The tip of the wood sheet is thin, so if the adhesion is weak, the load will be supported by the wood alone, increasing the risk of damage.
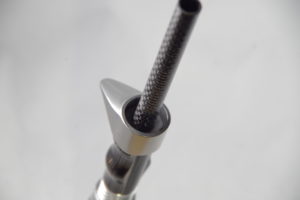
The image shows the excess glue having been wiped off, but since it will be hidden it is not a problem if you do not wipe it off.
If any excess has spilled over onto the grip, be sure to wipe it off thoroughly.
Next, we glued on an EVA arbor to round out the look.
Since this is a part that is not subjected to stress, adhesive is applied only to the part that will be attached to the carbon pipe.
It is fine to apply adhesive only to the carbon pipe side and glue it in place.
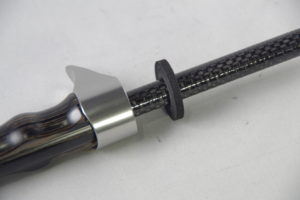
The EVA arbor has been attached.
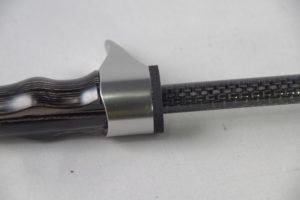
Next comes the main part, the cork grip.
At this point, it feels like we're getting closer to the finished product.
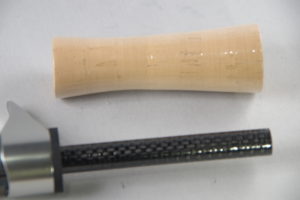
Since there will be a small gap between the cork grip and the carbon pipe, wrap tape around both sides and the center in three places to center it.
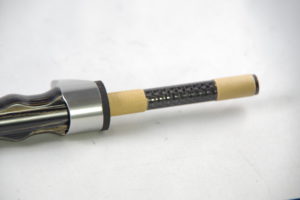
Assemble it temporarily and check that the carbon pipe does not protrude.
It's no problem if it goes in a little bit.
If it sticks out, cut it off.
Once confirmed, glue it on.
Since this is a part that will be subjected to stress, we apply glue to the inside of the cork and also to the carbon pipe to glue them together.
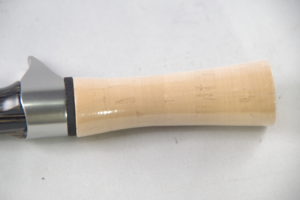
Once the adhesive has hardened, all that's left is to glue the end pieces together.
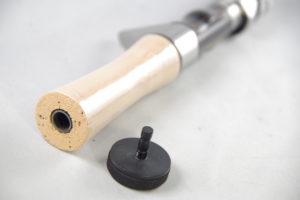
The end parts have a significant gap between the inner diameter of the carbon pipe and the shaft of the end parts.
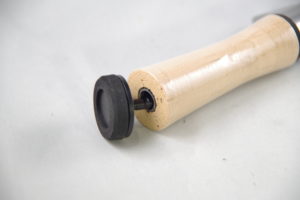
Therefore, in order to fill the gap, we cut a thin strip of spacer tape and wrap it around the shaft.
Cut the tape to a width of about 10 mm, making sure to leave a tight gap on both ends when wrapped.
The adhesive is firmly attached to the edge of the tape, which increases its strength.
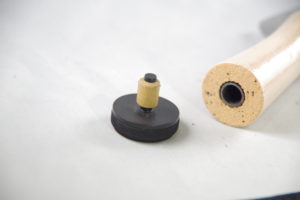
Once there are no gaps, it's time to glue it down.
In this case too, adhesive is applied to both the inside of the carbon pipe and the shaft of the end part and then glued together.
Be careful, as the air will often push the end parts upwards during curing.
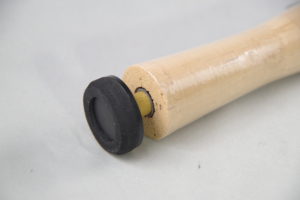
Once the end parts have hardened, it's complete!
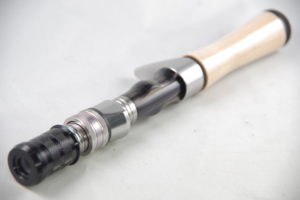
Once you get used to it, it's a simple task that can be completed in about an hour, as long as you remember the important points.
Grips with grip joints can be made just like assembling a plastic model, and can be made more cheaply than purchasing a finished product.
Fishing with fishing gear you've made yourself will give you a joy you've never experienced before.
We also offer grip kits that are recommended for those trying rod building for the first time.
For those who want high quality products or don't mind the hassle, we also have a large selection of finished products available.
Go to the sales page for trout grips
At Trout Fishing CH, we had the opportunity to try our hand at making a trout rod.
It was my first time rod building, but I was able to make the grip beautifully and easily!
Please check it out!!
