How to make a grip with adjustable length (Casting version)
Recently, it seems that there are more and more anglers who are not sticking to one type of fishing, but are going out to various fields to target various types of fish.
The rod and grip are one piece.
Hitotoki Works believes that what has been considered a standard fishing rod until now is no longer a suitable fishing tool for the increasingly diverse range of anglers.
Wouldn't it be exciting if you could adjust the length of your rod and grip with just one touch to suit your fishing needs or the area?
We will introduce you to the dream grip making method devised by Hitotoki Works, perfect for the fun-loving and active angler.
Grip Joint System
First, let me explain the "Grip Joint System" that makes the rod detachable.
A system that can secure rods equipped with aluminum ferrules called Champion Ferrules.

By attaching it as a front grip for wooden reel seats or Fuji Industrial's general plastic reel seats, you can attach and detach the rod with one touch.
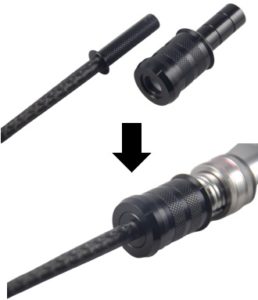
For more information, please see the Grip Joint System page.
See the Grip Joint System explanation page
The grip to be produced this time
The handle we will be making this time is a product sold at the Hitotoki Works shop under the product name "Chameleon Handle."
As its name suggests, this handle can change its style flexibly according to the situation, just like a chameleon.
Materials used this time
There is a silver type cap available, but I chose the black one as it is more subdued and gives a bold, masculine look to the finish.
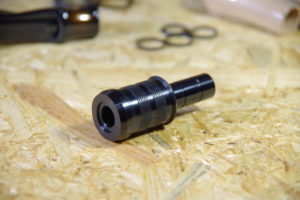
●Bait reel seat (SKTC-16)
The reel seat is finished in purple burst paint by the craftsmen at Hitotoki Works.
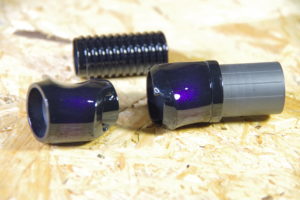
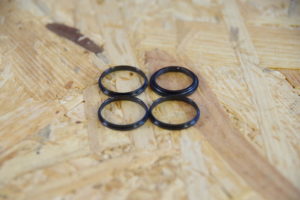
● Aluminum parts for hood nuts ( KNR-17 , KTR-17 )
The black color matches the color of the grip joint system for a unified look.
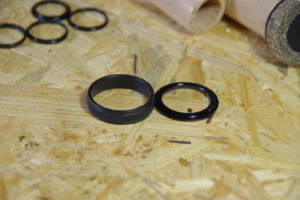
● Winding Check WC (S16-DR)
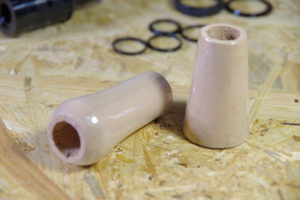
● Rear grip (CTVSG16-15) / End grip (C27SG-13)
This time, I'll use cork throughout to create an elegant grip!
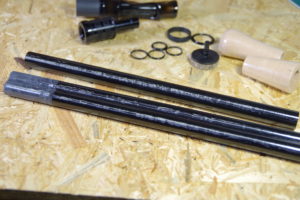
●Detachable parallel joint carbon pipe
In order to create two different length end grips, we prepared two types of male pipes, as shown in the foreground of the photo.
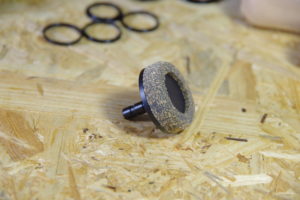
- ● End parts ( butt end caps )
This time I'll try finishing it with rubber cork.
Required Tools
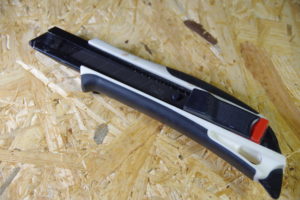
●Cutter (design knife)
Used to remove burrs after cutting resin parts.
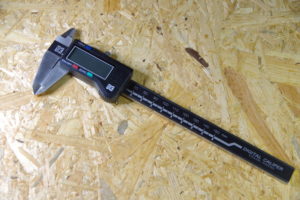
Calipers
The digital type is easier to use and allows for quick measurements.
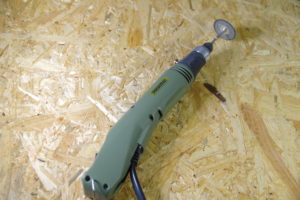
Router
By attaching a diamond cutter, cutting carbon pipes becomes incredibly easy!!
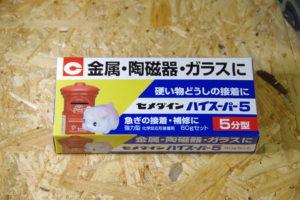
●Two-component epoxy bond (5-minute type)
A powerful bond that takes effect after 5 minutes.
If you are not familiar with the product, it is better to use the 30-minute type, which starts to work after 30 minutes, and work slowly to reduce the chances of making mistakes.
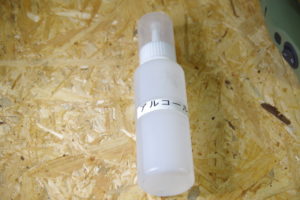
Alcohol
Use it to wipe off excess adhesive.
At Hitotoki Works, we dilute the "fuel alcohol" sold at pharmacies by half with water so as not to damage paint, etc.
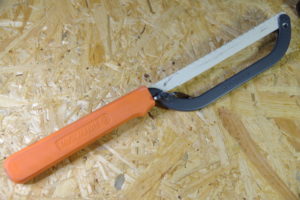
Handy saw
Used to cut plastic pipes.
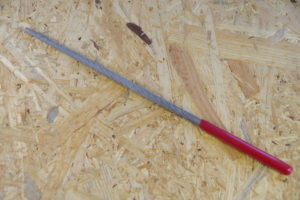
File bar
Used to scratch the inside of carbon pipes to increase adhesive strength.
Spacer tape
A tape that acts as a gap filler when bonding parts with gaps.

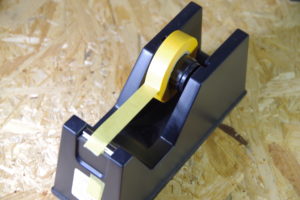
Masking tape
Used for marking when cutting parts.
At Hitotoki Works, we set it on a tape stand to make it easier to cut. We recommend this method!
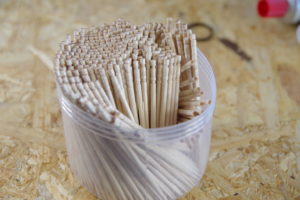
Toothpick
It is used for applying epoxy bond to small areas when installing winding checks or to the inside of components.
● Sandpaper
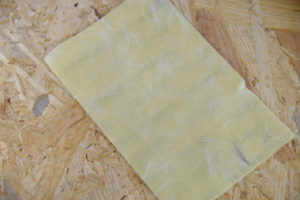
Sandpaper of around #400 is easy to use.
Step 1: Processing the hood
We will assemble the parts for the hood nut that secures the reel.
First, use a vernier caliper to measure the adhesive area of the aluminum part that will be attached to the hood nut.
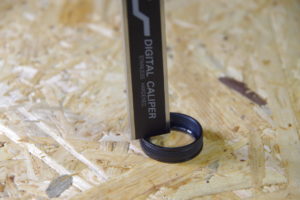
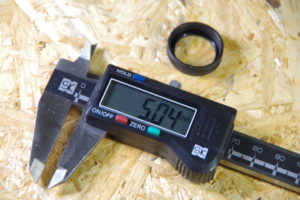
The adhesive surface is approximately 5 mm, so cut the food pipe so that it is 5 mm long.
■ Tips
Rather than marking the exact 5 mm position with masking tape, leave an extra 1 mm for the thickness of the blade, mark with masking tape so that 6 mm remains, and then cut it out with a handheld saw.
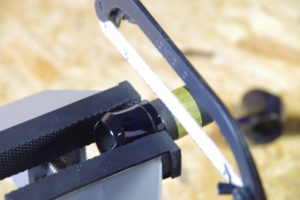
The cutting of the hood nut is complete, but at this point the cut surface is dirty and there are burrs.
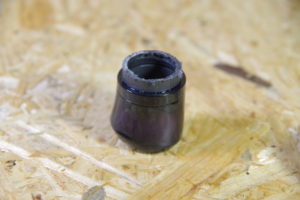
If you have a cutter and paper, you can also use paper to clean up the cut edges.
If you neglect this step, the burrs will interfere and damage the reel seat, so be careful!!
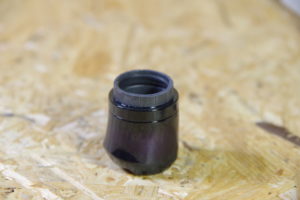
There will be a small gap between the hood pipe and the aluminum ring, so fill the gap with spacer tape.
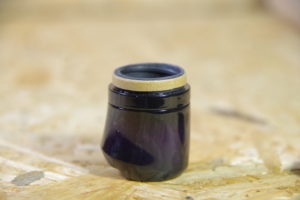
The two-component epoxy bond is thoroughly mixed with the base agent and hardener in a 1:1 ratio and applied to the components.
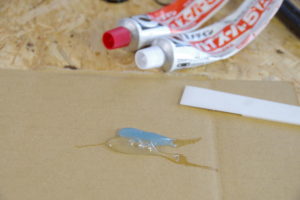
Wipe off any excess glue with a tissue soaked in alcohol.
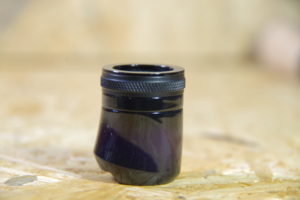
Step 2 Cut the reel seat screw
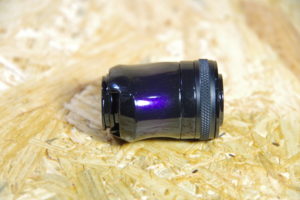
The screws on the reel seat body also look a bit tacky if they are exposed too much.
Let's get rid of the unnecessary parts to make it look cool!
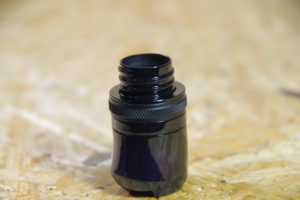
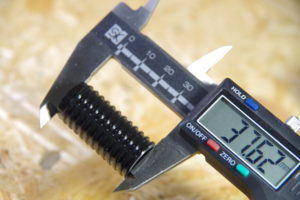
Cut it with a handsaw just like the hood nut, and make the cut surface clean.
I tried making it just under 38mm.
When I put the hood over the screw, it fit almost perfectly and looked stylish.
Step 3 Gluing the reel seat
The reel seat and aluminum ring are glued to a female carbon pipe with an outer diameter of 15 mm.
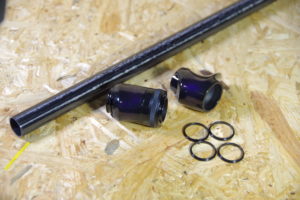
First, there is a small gap between the reel seat and the carbon pipe, so we use spacer tape to fill the gap.
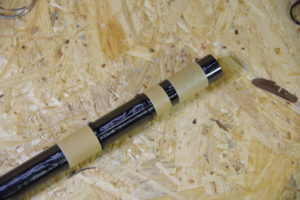
Just like when gluing the aluminum ring of the hood nut, mix the base agent and hardener of the two-part epoxy bond in a 1:1 ratio and apply it to the parts.

■ Tips
When gluing, do not just apply glue to the carbon pipe; it is better to also apply glue to the inside of the reel seat using a thin object such as a toothpick to prevent poor adhesion.
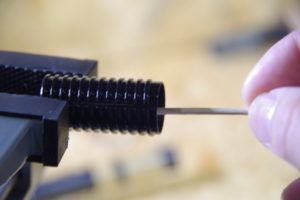
The hood nut gets in the way, so remove it for now, and glue the tip of the reel seat protruding about 8 mm.
At the same time, apply a small amount of epoxy glue with the tip of a toothpick and attach winding checks above and below the screw.
Any excess adhesive can be thoroughly wiped off with a tissue soaked in alcohol.
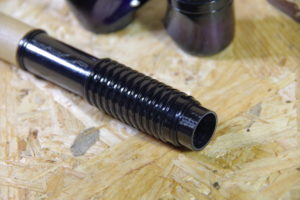
Glue the trigger part, leaving a gap of 34 mm from the end of the screw, and at the same time apply a small amount of epoxy bond with the tip of a toothpick and attach the winding check.
The exposed carbon section is approximately 30 mm.
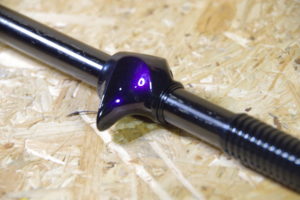
This completes the gluing of the reel seat!!
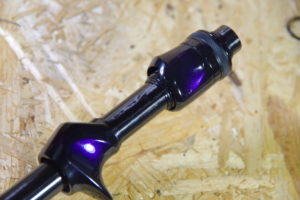
Step 4: Installing the Grip Joint System
Before installing the receiving part of the Grip Joint System and the Winding Check, scratch the inside of the carbon pipe to increase the adhesive strength.
Make sure to scratch it thoroughly with a file or similar.
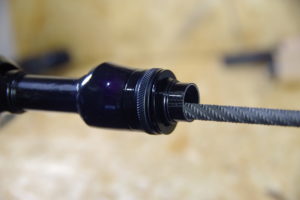
Once the surface preparation is complete, clean it with alcohol and then apply the adhesive.
Apply adhesive not only to the grip joint system side but also to the inside of the carbon pipe.
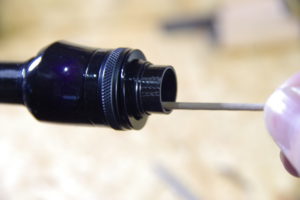
Insert the adhesive-coated receiving part of the Grip Joint System into the winding check.
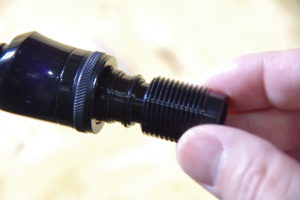
Wipe off any excess adhesive thoroughly.
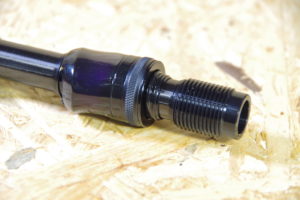
Wait a while for the adhesive to harden and it's done!
It's gradually getting closer to the grip.
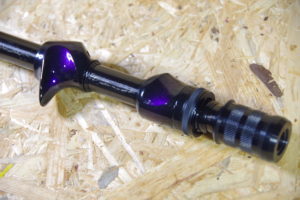
Step 5: Installing the rear grip and winding check
Once you get this far, all that's left is some simple, not too difficult work.
So let's get started!!
First, measure and mark with masking tape the length you want to leave for the rear grip and winding check.
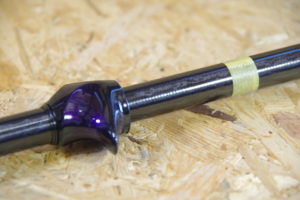
Cut the carbon pipe with a router and smooth the cut surface with sandpaper.
At this time, use paper to round not only the cross sections but also the corners (both outside and inside).
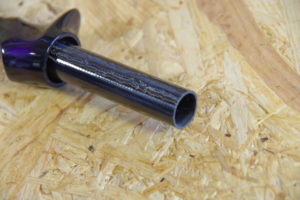
After roughening the surface of the carbon pipe, apply epoxy bond to the carbon pipe and the inside of the grip, and wipe off any excess glue.
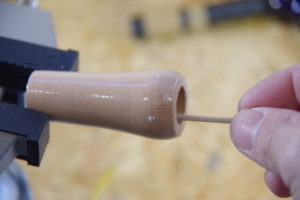
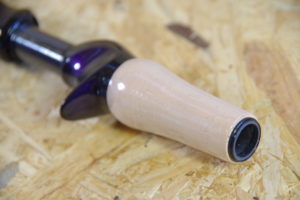
The base grip is complete!
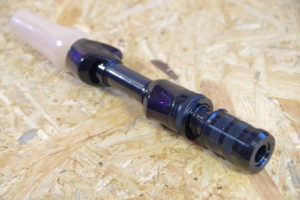
Step 6: Making the end grip
This is the final step!!
We will create two types of end grips that can be inserted into the base grip and made removable.
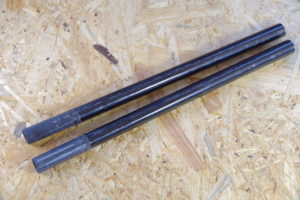
First, cut a male carbon pipe with an outer diameter of 13 mm to the desired length.
This time, we cut it into two sizes: a short type with a total length of 100 mm that can be used in mountain streams, and a 140 mm type that can be used for various types of fishing such as bass and mainstream trout.
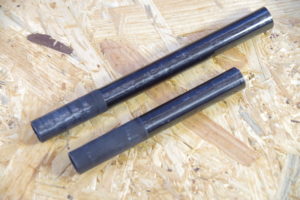
Glue the winding check and end grip with epoxy glue.
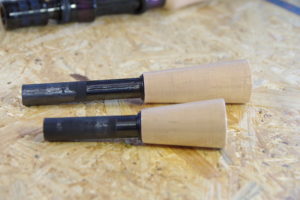
All that's left is to attach the butt end and you're done.
There will be a gap between the shaft at the butt end and eliminate the inner diameter of the carbon pipe, so use spacer tape to the gap.
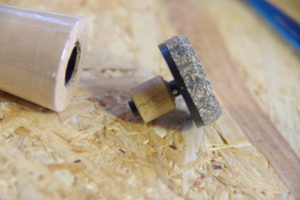
Thoroughly apply glue to the inside of the carbon pipe as well, and once it hardens, it's complete!!
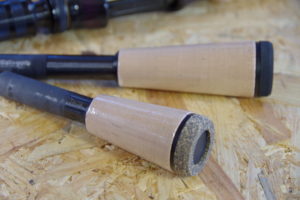
Completed
●Short type end grip specification
The overall grip length is now 273 mm.
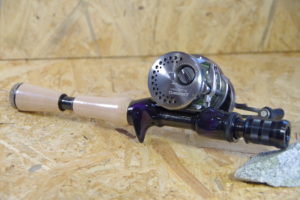
●Middle type end grip specification
The overall length of the grip is now 317 mm.
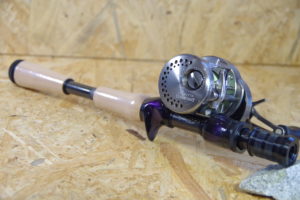
This completes the creation of a grip that not only allows you to replace the rod, but also makes the grip length adjustable.
Please give it a try.
If you want to ferrule an existing rod, please refer to this video which shows how to make it.
