Pushing the limits of the Grip Joint System
Hello!
This is Kamimura from Hitotoki Works.
Many people are concerned about the "strength" of the grip joint system and carbon ferrules, and I was also interested in how much it could withstand, so I decided to carry out an experiment to turn my jigging rod, which is the type of fishing that is most heavily subjected to stress, into a grip joint.
The jigging rod we will be customizing this time
The jigging rod we will be customizing this time is this↓
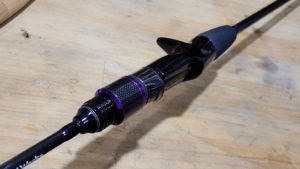
A jigging rod for slow jigging that I made myself about 5 years ago.
This model is used for inshore jigging and swordfish jigging.
The plan is to cut this rod and embed the grip joint system.
Jigging rod ferruled
First, cut the blank to attach the ferrule.
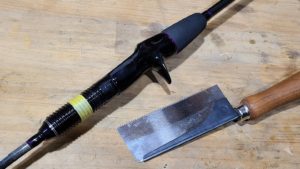
Once you have cut all the way down to the blank, make a slit in the remaining reel seat screw parts and peel them off with a flat-head screwdriver.
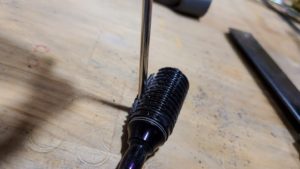
If you insert a flat-head screwdriver in far enough, it will come off with a "pem" sound.
When I measured the outside diameter of the blank, it was about 7.5mm (;∀;)
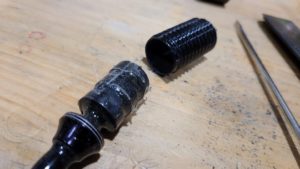
At first, I planned to insert an aluminum inner ferrule, but since the maximum inner diameter is 7.2mm, I decided to use a 5.5mm carbon shaft ferrule !
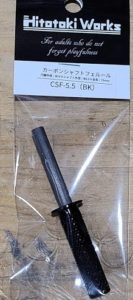
This year, the carbon shaft ferrule has been changed from hollow to solid to improve strength!
The strength of this thing is just right for experiments!
So, the blank part was cut further right to the edge of the winding check that was originally attached.
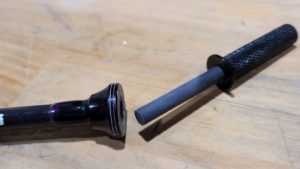
The inner diameter was perfect, so I roughened up the inside of the blank and the carbon shaft with a file and then glued them together with two-component epoxy bond.
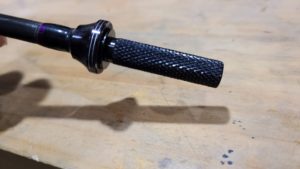
Now your rod is ferruled!
Grip joint system embedded in grip
Once the rod ferrules are complete, the grip part is converted into a grip joint (`ー´)ノ
Normally, you would cut two vertical slits in the reel seat with a saw and destroy it, but this is quite a tedious job (;∀;)
Originally, I felt that the grip length was a little long, so I decided to shorten it by the length of the reel seat and remake the grip.
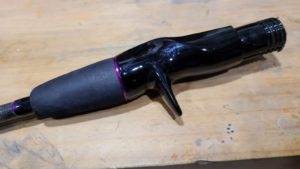
First, remove the rear grip with pliers.
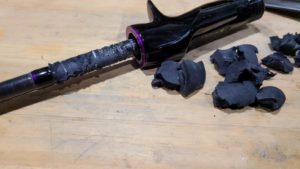
After removing the grip, cut the blank as close as possible to the reel seat.
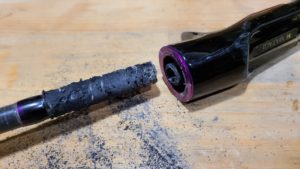
Use a cutter or something similar to neatly trim the area where the grip was attached.
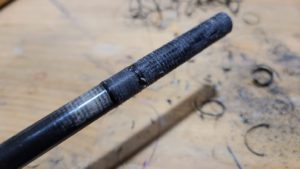
The preparations are now complete!
Now we move on to assembly work.
This time, I chose the ECS16 seat (KN hood specification).
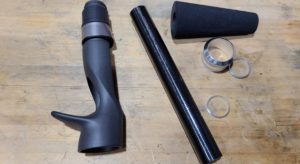
First, attach a 15mm outer diameter carbon pipe to the reel seat and a KAR-16 to the KN hood!
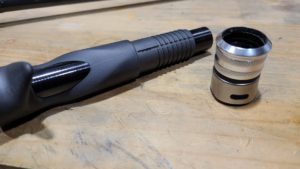
To ensure that the reel foot fits securely, and to allow the hood nut to slide, the carbon pipe has a protruding section at the top of the pipe of about 10 mm.
*Please note that without this protrusion, the reel cannot be attached!
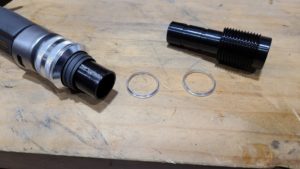
Attach two S16DR-15 (WC-15) to both sides and glue the receiving parts of the Grip Joint System together.
*When gluing the receiving parts, be sure to roughen the inside of the carbon pipe with a file or something similar, and then perform the base preparation work!
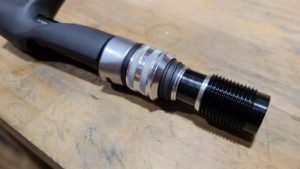
First, glue the cut end grip parts and the reel seat together.
Also glue on the rear grip.
The rear grip used is E27MG-11 !
There was a gap between the carbon pipe inside the reel seat and the carbon pipe of the end grip part, so the inner diameter was adjusted with Tesa tape.
Roughen the inside of the carbon pipe on the reel seat side with a file or something similar, then glue it in place.
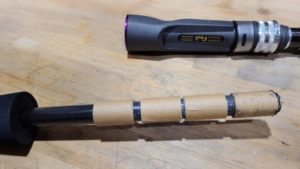
The rear grip is also glued on and the whole thing is complete!
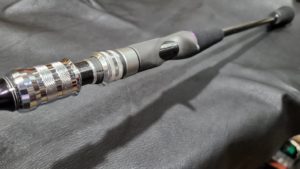
The grip joint system makes it look so cool!
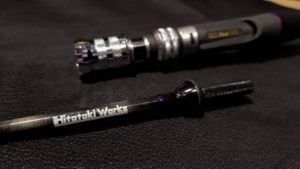
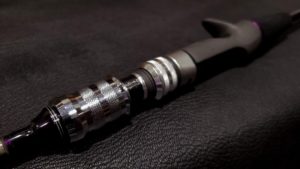
And then there's no problem with strength...
Offshore for strength testing
Every year from October to January, when the mountain streams are in the off-season, I enjoy offshore fishing on the boat owned by the owner of the car shop that I always use!
Although it is already November, we were given the opportunity to board and take the boat off the coast of Lake Hamana for the first time this year to conduct a strength test of the grip joint system!!

It was windy in the morning, but the wind has died down and the weather is good.
The morning begins with the casting's top game.
The fishing girl who accompanied me also made some great casts!
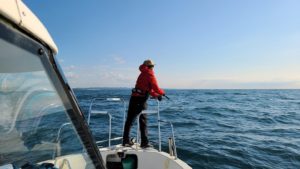
I thought it was still a little too early, but the Inada class was breaking through the water surface like crazy!
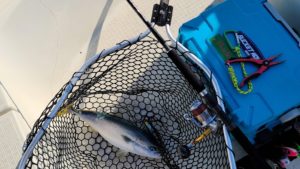
The Briclass isn't coming out...
But the top game is fun (`ー´)ノ
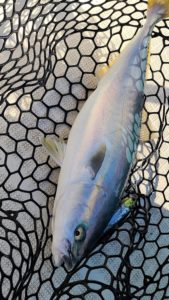
Since we can't expect any size increase, we moved to the standing area.
Now we begin the strength testing of the grip joint system.
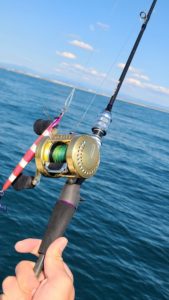
I don't think it'll be a problem because I bend the rod as hard as I can before going fishing...
I caught a hairtail fish using a 160g jig, with no problems at all!
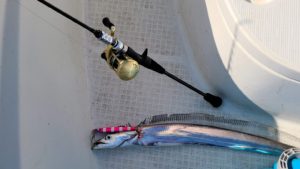
I tried reeling it in from a depth of 150m, but the rod was completely locked and not rotating.
The locking power of the Grip Joint system is incredible!
After catching bluefish and hairtail fish, I had the urge to eat flounder as well...
By the time I noticed, the bait sabiki had been dropped (;∀;)
Soon a horse mackerel was attached to the sabiki, and as I was letting it drift around the bottom, I heard a loud thud.
After getting a good signal, I hooked it and it was a flounder!!
What came up was a nice 50cm flounder.
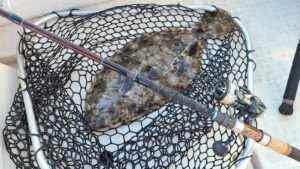
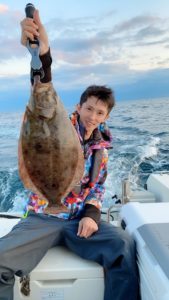
After that, I tried to catch a second flounder, but it was only a Spanish mackerel again...
The fishing girl who was with us caught a delicious looking Spanish mackerel too!
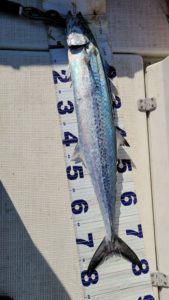
enviable...
But we were able to conduct a strength test and get some tasty ingredients, so I'm satisfied!

▼Click
The Grip Joint System makes you feel like a hunter loading his gun and heading out to hunt when you hear the "click" sound when you insert the rod into the grip...
I think it will be (laughs)

