I want to fish with bait as much as possible!!
It seems that the number of bait tackle enthusiasts is increasing.
This time, we will show you how to customize a spinning rod into a bait rod.
What is the difference between a spinning rod and a baitcasting rod?
There are two major differences.
The first point is the direction of the rod when in use.
A spinning rod is used with the guide ring through which the line passes facing downwards.
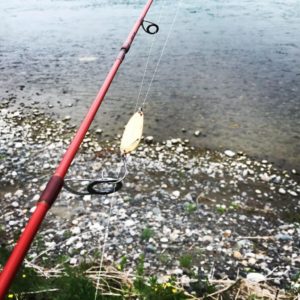
On the other hand, a bait rod is used facing upwards.
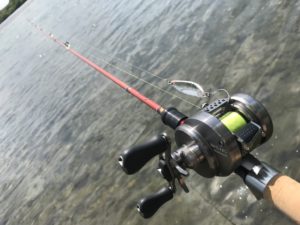
Therefore, in bait-casting rods, where the reel is attached to the upper part of the rod, it is difficult to stabilize the center of gravity when casting or operating the rod, so a rhinoceros horn-like protrusion called a "trigger" is attached to the reel seat.

When you hold the rod, it catches between your fingers, creating stability, and this is the design of the reel seats on almost all bait-casting rods.
The second point is the size of the guide ring.
The guide rings are different sizes because of the difference in the structure for releasing the line.

With spinning reels, the line is released from the spool in a spiral shape, which causes a larger line swing, so the guides are also larger.
With a baitcasting reel, the line is released by rotating the spool itself, so the line vibration is smaller and the guides are also smaller.
The tip guide has its swing range narrowed by the butt guide, so small diameter guides are used for both spinning and bait.
How to turn a spinning rod into a baitcasting rod
① Replace the reel seat with one that has a trigger
② Make the butt side guide smaller
These two points need to be changed.
Here we will show you the steps to change these two points.
Step 1: Replace the reel seat with a trigger
The rod we will be customizing this time is Anglers Republic's Egeria.
This is a 7'3" spinning rod I bought for Satsukimasu.
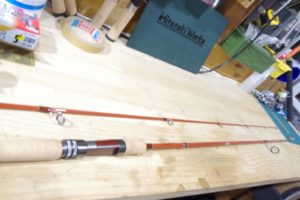
The common method is to remove all grip parts and combine new grip parts for bait, but this time we will customize it by attaching a Champion ferrule to the blank so that it can be combined with a Hitotoki Works handle, which can secure a rod with a Hitotoki Works Champion ferrule.
▼ A bait-type handle equipped with the grip joint system that will be combined this time
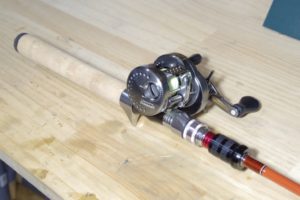
This blog explains how to make a grip using a wooden reel seat.
https://hitotokiworks.com/apps/note/blog/1311/
First, cut the blank at the ferrule installation position to install the champion ferrule.
This time, since the length of the conventional grip and the Hitotoki Works handle were the same, I wanted to cut the part of the blank just above the aluminum part just above the front grip.
Please note!!
①The blank outer diameter of the rod to be customized this time was about 9 mm, so we inserted the shaft ferrule into the blank and glued it in. However, if the blank outer diameter is 7.1 mm or less, the blank can be inserted into the aluminum ferrule to attach it, so please cut it leaving the part that will be inserted into the aluminum ferrule.
②It is recommended that the blank cut position, when the handle is attached to #2 on the butt side, be set to the same storage dimension as #1 on the tip side .
▼If the blank outer diameter is 7.2 mm or more, a shaft ferrule is used that is attached by inserting the shaft inside the blank.
▼ If the blank outer diameter is 7.1 mm or less, the aluminum ferrule is installed by inserting the blank into the ferrule.
This time we are using a shaft ferrule type, so in order to cut the aluminum parts that are rubbing against each other, we have to dig out the front grip, which is getting in the way of the work.
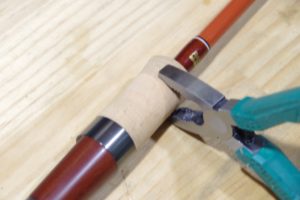
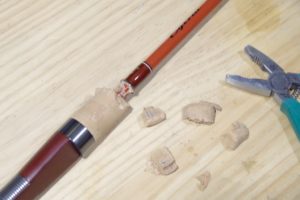
Once the front grip is removed so that it doesn't get in the way, the next step is to cut the blank.
The image shows a cutting tool being used, but you can also cut it with a hacksaw!
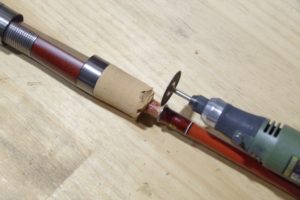
At this time, rather than cutting right to the limit to avoid damaging the aluminum part, cut with some leeway, leaving the blank protruding.
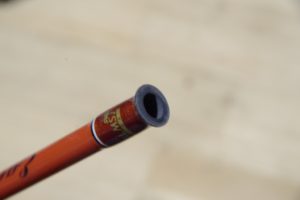
Ferrule Installation
Once the blank is cut, use sandpaper to rub the aluminum parts together until the cut surfaces are parallel.
Next, install the aluminum ferrule.

There is a slight gap between the outer diameter of the ferrule shaft and the inner diameter of the blank, so adjust it with spacer tape to eliminate the gap before gluing.
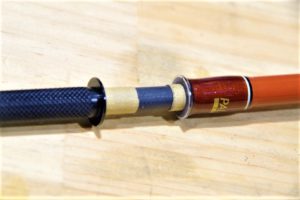
Glue it together with a two-part epoxy bond and it's done!
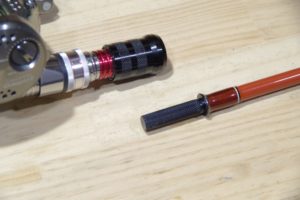
If the outer diameter of the blank is 7.2 mm or less, an "inner ferrule" can be used, in which the blank is placed inside the ferrule and glued.
Please refer to this video (starting at about 3 minutes) for instructions on how to do this.
https://youtu.be/wGucbh9yoik
The grip is now designed for bait fishing.

All that's left is to make the guide smaller!!
Step 2: Reducing the diameter of the butt guide
As mentioned at the beginning, the difference between a spinning rod and a baitcasting rod is the size of the butt guide.
This spinning rod mainly uses the four bottom guides to narrow the spiral line into a straight line (choke).
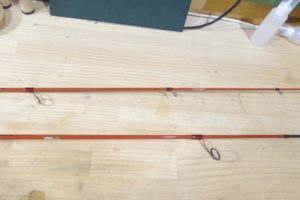
Let's remove the spinning guide.
The guide rings were Fuji Industrial's guide sizes, going from 25 to 16 to 10 to 7 in size.
We will reduce the size from bottom to 10→8→7→6 and change it to a bait-specification guide.
First, remove the guide you want to replace with a cutter.
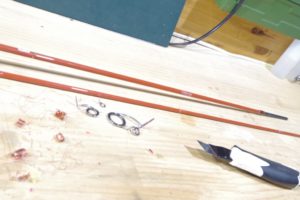
Use the cutter blade against the guide feet to scrape off the threads, being careful not to scratch the blank.
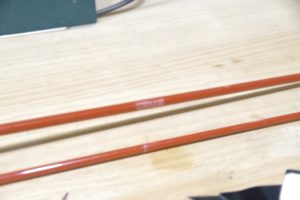
Attaching the bait guide
There will inevitably be traces left behind when you remove the guide, so you need to warm up the remaining coating agent using a hair dryer or something similar, rub it off with plastic or wood, and make it flat before reattaching the guide.
In order to hide the marks left by removing the guides, the two guides on the butt side are double wrapped, in a process called double wrapping, in which the underwrap is wrapped to the length of the guide plus an additional length to serve as a base for the guide to rest on, and the underwrap is then coated before the guides are attached and coated again.
Since I was going to do it anyway, I decided to attach it using thread colors to add a bit of fun.
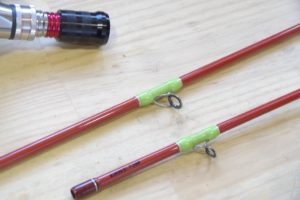
The other two guides are standard single wrapping, with downsized guides installed and coated.
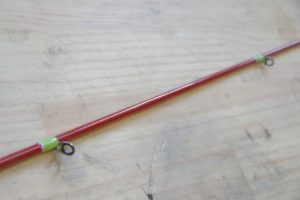
Repeat the coating process until you reach the desired thickness.
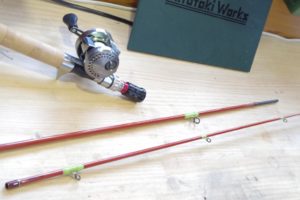
Now, the customization of a spinning rod into a baitcasting rod using a grip joint type handle is complete!
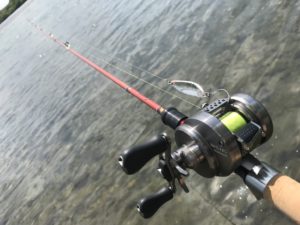
I immediately tested it out in some fishing and found it to be a great bait rod.
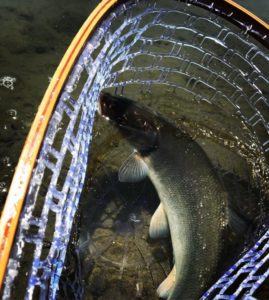
If we had caught a Satsukimasu it would have been a nice ending, but that's just how it goes.
