[Trout rod style] Titanium tip rod for horse mackerel fishing
Hello!
This is Uemura from Hitotoki Works.
We received many photos of the manufacturing process of a titanium tip ajing rod made by a customer ( @shin2675 ), so we would like to introduce them to you.
"I want to make a versatile light saltwater rod that can be used for horse mackerel fishing, rockfish fishing, and trout fishing!"
So I started the brand LOGIGEAR at the company where I used to work.
We have been developing blanks and titanium tips, so this time we introduced blanks with titanium tips attached.
This time, I used blanks that already had titanium tips attached, but for instructions on how to attach a titanium tip, please refer to Ishiguro's blog.
Using these blanks, we started making light salt/trout rods!
First, we start by making the grip, which is the face of the rod.
At first, I was thinking of using a Fuji Kogyo reel seat with a straight grip, but I ended up using a wooden reel seat instead, making it a separate type. (laughs)
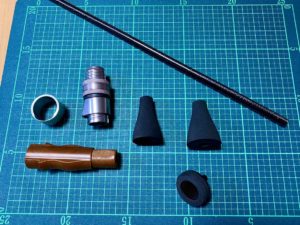
Grip Specification Parts
Reel seat: BR-US + spinning hardware
Rear grip: EKTG24-7.5
End grip: EKTG27-7.5
End cap: BEE27-5
It really looks cool when you assemble it!
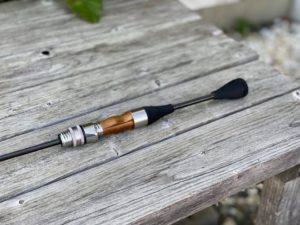
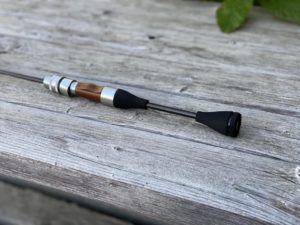
Although the general design of the grip has been decided, Hitotoki Works recommends the grip joint system, which makes the rod and grip detachable, and does not sell adhesive-type front grips...
The question remains as to what to do about that part...
Grip Gluing
We'll think about the front grip issue later, but now we'll move on to assemble the grip.
Adhesion of rear grip, end grip, and end cap
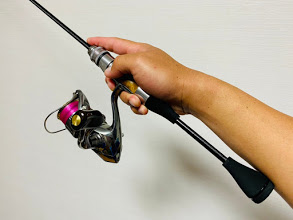
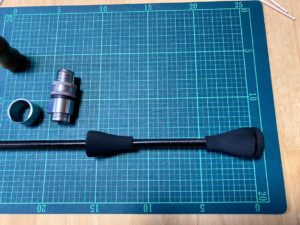
First, glue on the rear grip and end cap.
Attach with a two-part epoxy bond.
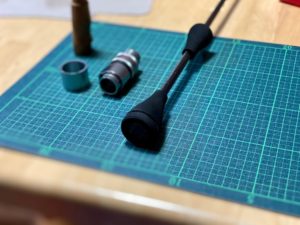
The grip length can be set to your preferred length.
Since it is intended for light games, the length is not too long and it allows the rod to be easily fixed during a fight.
Reel seat adhesive
Once the grip is glued on, glue the reel seat.
There was a gap between the inner diameter of the reel seat and the outer diameter of the blank, so we filled the gap with Tesa tape.
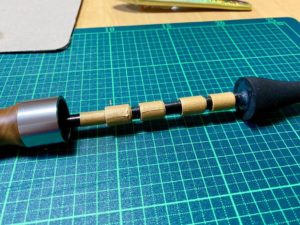
Once it's neither too loose nor too tight, glue it in place with two-component epoxy glue.
At this time, check the position of the spine of the blank and adjust the position of the reel seat to match the soft line.
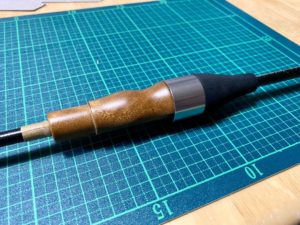
Once the adhesive on the wood seat base has hardened, glue in the top screws.
Since there is a gap between the screw and the blank, this is filled with Tesa tape before gluing.
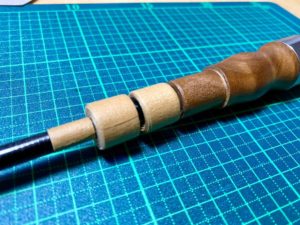
It's starting to look more like a rod.
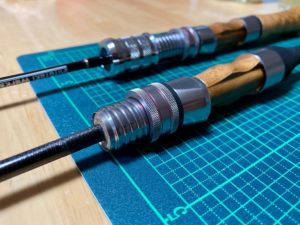
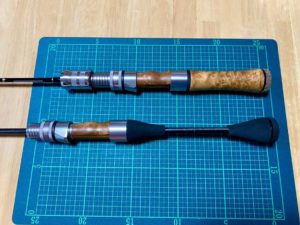
Comparing the length with the trout grip I normally use.
The lengths are quite different!
Installing the front grip
Now that I've come this far, the only thing left is that problem... lol
As I mentioned at the beginning, this is the problem of what to do about the front grip!
It would also be cool to just glue the Grip Joint System cap as a front grip...
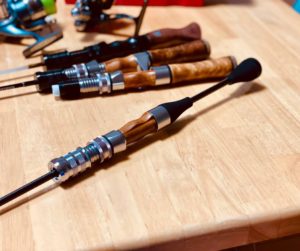
This would end up being the same as the Hitotoki Works grip I own, so I decided to resist the cool look and look for an alternative solution.
First, measure the outer diameter of the blank at the installation position.
About 6.3mm?
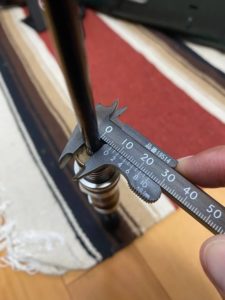
The outer diameter of the screw is 16 mm.
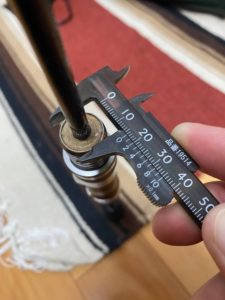
This time, I wanted to keep the front grip part simple using only an aluminum ring, so I purchased Matagi's D16FR-8, which I thought might work, and did a trial assembly.
Bought silver and gunmetal.
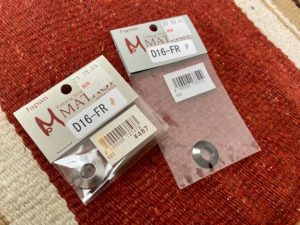
Silver type temporarily assembled.
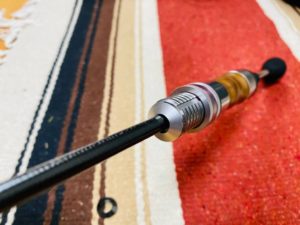
Gunmetal type provisionally assembled.
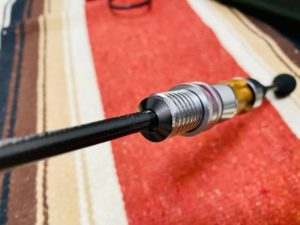
The D16FR-8 has an outer diameter of 17 mm, so it protrudes slightly from the screw (outer diameter 16 mm).
The minimum inner diameter size is 8mm, so there is a gap between the blank.
While I was google to see if there were any other compatible parts, I found some motorcycle parts.
Although the inner diameter is slightly smaller, the outer diameter is a perfect 16mm.
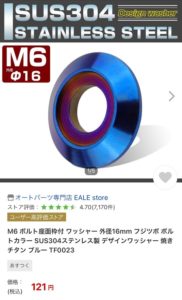
The price is also an incredible 121 yen.
Although the shipping costs were higher, I decided to use this part.
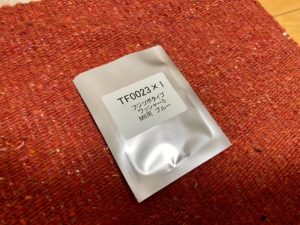
When the parts arrived, I tried assembling them...
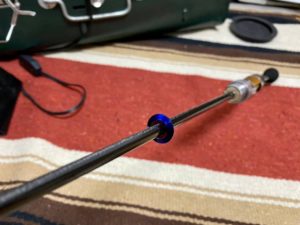
It stopped at a fairly high point.
I purchased a diamond file to manually widen the inner diameter.
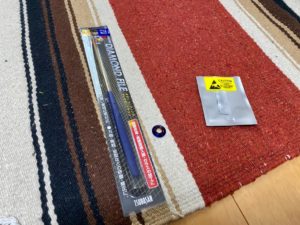
This process widens it by about 0.3 mm.
It may seem like it's only 0.3 mm, but it's quite difficult to spread it out by hand.
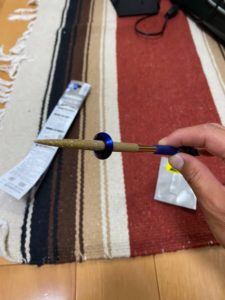
Apparently it took about two hours to widen the inner diameter.
I've done it before, but it's something I never want to do again...lol
It fell perfectly into the screw position, so I glued it in place with epoxy glue and the grip was complete!
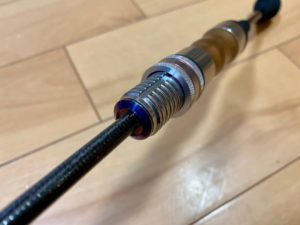
Guide installation
I wasn't particularly interested in making it lightweight, and I also wanted to use PE line, so I chose a size 4.5 guide ring at the end of the tip.
Please refer to the following page for how to set the guide.
Wrap the thread around the coating and repeat the process about three times.
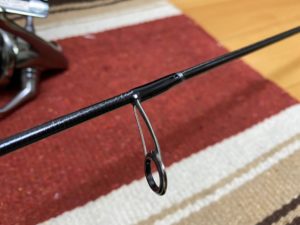
Titanium tips are slippery and thin, making winding the thread quite difficult.
Apparently it didn't go well due to lack of sleep, so he had to try again ^_^;
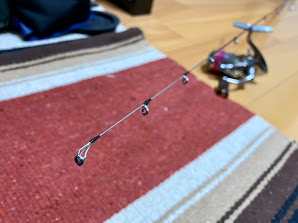
Finished!!!
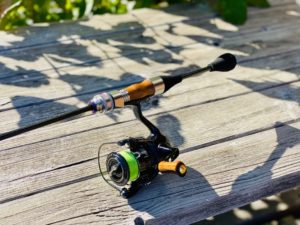
The wooden reel seat and separate grip also look cool.
It makes for a great rod.
Thank you @shin2675 for providing the photos <(_ _)>
![[Trout rod style] Titanium tip rod for horse mackerel fishing](http://shop-hitotokiworks.com/cdn/shop/articles/line_1073714966352753-300x225.jpg?v=1730967089&width=1100)