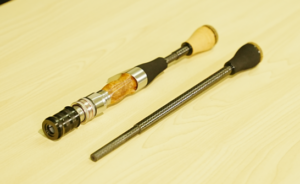
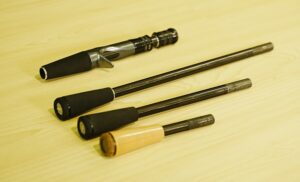
Length changes! Grip making (light grip version)
Rod customization expands the possibilities of your rod.
We will introduce how to make a grip that allows you to change the length of the grip with one touch!
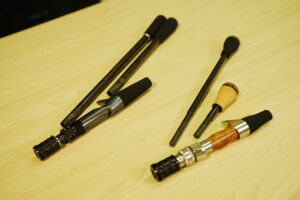
Making a trout-style grip
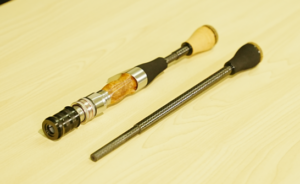
This time, we will explain how to make the trout-style grip shown on the right side of the photo.
Click on the image below to learn how to make the Fuji grip on the left!
How do you make a grip that varies in length?
This time, we used a detachable 3K carbon pipe with a spigot joint , and by applying its functions, we were able to create a trout-style grip with adjustable length.
Only the grip side of the Spigot joint detachable 3K carbon pipe is used on the end grip side, and several end grips of different lengths are prepared.
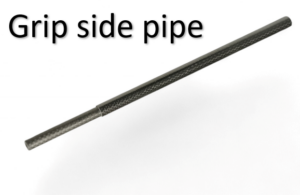
Reel seats and other parts are made using 3KCP16-11 carbon pipes, and by inserting the Spigot joint part of a detachable 3K carbon pipe into the 3KCP16-11 , it is possible to create grips with adjustable length.
*Since this is not a special combination, it may be that the fit is too tight or too loose, and adjustments may be necessary in rare cases.
Materials used
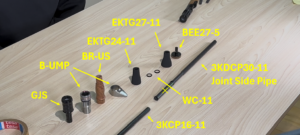
⑨3KDCP30-11 (grip side pipe only)
This time we made a bait-casting model, but if you make a spinning model, please change ② from 【 B-UMP 】 to 【 SP-UMP 】.
In addition, the reel seat, grip material, and winding check (decorative ring) can be changed in material and color to suit your taste!
Step 1 Cutting 3KCP16-11
First, we will temporarily assemble each part.
You will then notice that the carbon pipe protrudes a few centimeters from the rear grip.
Mark the excess with masking tape.
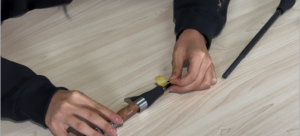
Cut the carbon pipe while rotating it using a hacksaw or similar tool.
*Carbon fibers run vertically, so if you cut them from one direction, they will not cut cleanly.
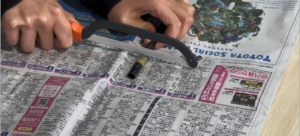
Once cut, smooth out the cut surface with a file.
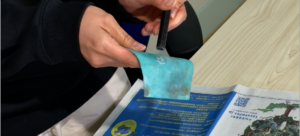
Assemble the parts again temporarily to check that there are no protruding carbon pipes and then the process is complete.
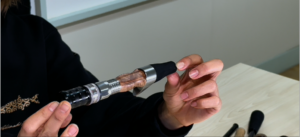
Step 2: Filling gaps and attaching the base
It's a bit strange, as you can see from the photo...
There is a gap between the GJS and the reel seat hardware .
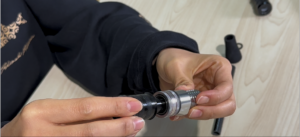
Use spacer tape to tape three places.
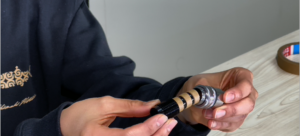
Next, we will attach the BR-US .
Roughen the adhesive surface with a file or similar.
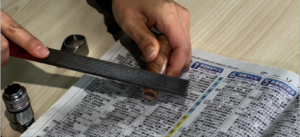
Next, apply thin strips of tape to fill in any gaps.
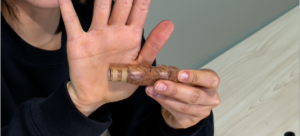
The same process is carried out on the underside, attaching the base and filling in any gaps.
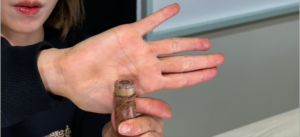
This completes the preparation work!
Step 3: Gluing the reel seat
First, glue the GJS and reel seat hardware together.
* Be sure to apply adhesive thoroughly inside the metal fittings and between the gap-filling tape.
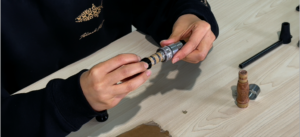
Next, glue the reel seat hardware and BR-US .
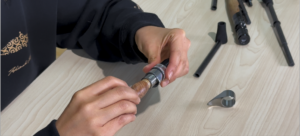
Glue the trigger part in the same way.
To get the correct orientation,
1. Adjust the direction so that both ends of the reel foot insertion hole on the trigger are even.
2. Adjust the direction so that the tip of the trigger and the vertical groove of the screw are in a straight line.
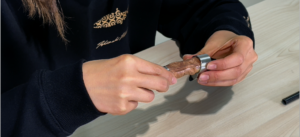
Step 4: Gluing the carbon pipe
Once the reel seat part is complete, the next step is to glue the carbon pipe.
If there is a gap between the reel seat and the carbon pipe, adjust it with gap tape.
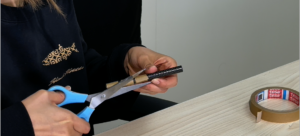
Once the preparations are complete, it's time to start gluing.
Use a slightly long stick, such as a chopstick, to apply the glue firmly to the back of the reel seat.
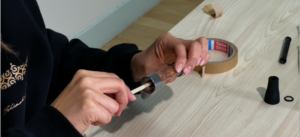
Apply adhesive to the carbon pipe as well.
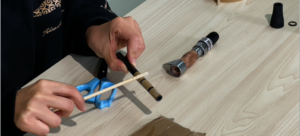
Insert the carbon pipe slowly while rotating it.
It's best if a little bit of glue protrudes.
If it overflows too much, it may drip during hardening.
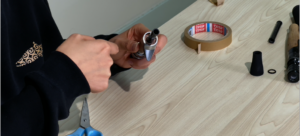
Step 5 Gluing the rear grip
By this point, the grip is starting to take shape and you should be feeling like "I want to finish it quickly!" lol
Let's suppress our impatience and work carefully!!
After applying adhesive to the inside of the grip and the outside of the carbon pipe, insert the grip while slowly turning it.
First, wipe off any excess adhesive thoroughly.
Apply a small amount of glue with the tip of a toothpick, attach WC-11 and it's done!
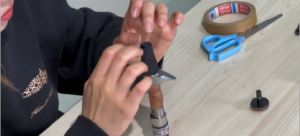
Step 6 Making the end grip
Finally, the final step is making the end grips!
First, cut the grip side pipe of 3KDCP30-11 to the required length.
Once cutting is finished, apply glue to the inside of the KYG27-11 .
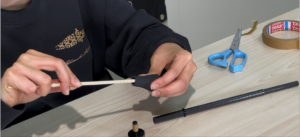
After applying adhesive to the carbon pipe, slowly insert the grip and glue the WC-11 in place as well.
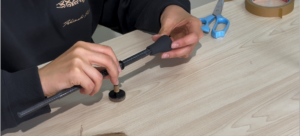
Finally, the final step.
After filling the gap, apply adhesive to the inside of the end cap and carbon pipe and glue them together.
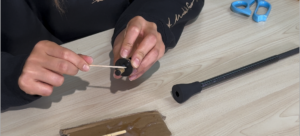
Once the adhesive has hardened, it's done!
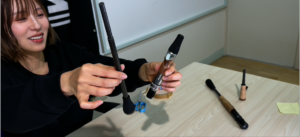
This time, we made an end grip without cutting the grip side pipe of 3KDCP30-11.
Without cutting it, it was about 41cm long.
It's a length that would be useful for big trout and light saltwater fishing.
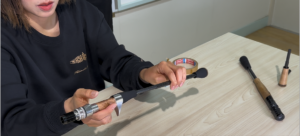
We also made shorter grips and 27cm grips.
I would like to use this exclusively in mountain streams.
