Zoom Safari - Easy customization and makeover
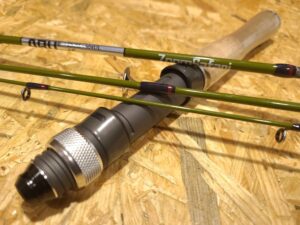
Hello, this is Kamimura from Hitotoki Works.
Over the course of two days, we demonstrated how to customize Zoom Safari during a live broadcast on Instagram.
The custom content is as follows:
1. New image of the front grip
2. Ferrule and replace with Hitotoki Works grip
3. Bait
This is what it ends up looking like. LOL
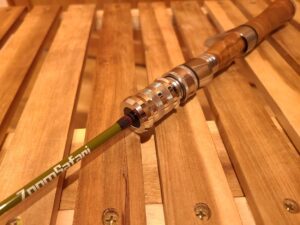
First, as a customization method, we will introduce a way that anyone can easily customize to give your Zoom Safari a stylish makeover!
Custom front grip
This time, we will replace and customize the front grip.
1. Remove the front grip
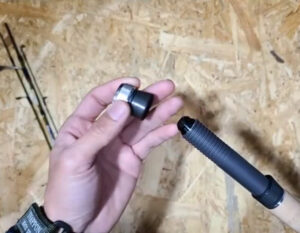
First, remove the front grip.
Prepare and cut the food pipe
Prepare a new food pipe (sold as KN-16 or KDPS16).
Cut the hood pipe to fit the parts you want to fit.
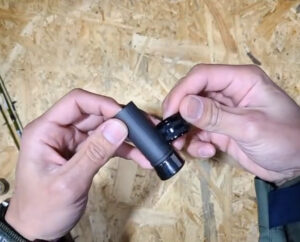
This time, we will use the KAR-16 .
Calculate 1mm extra for the saw blade and make a mark at 14mm.
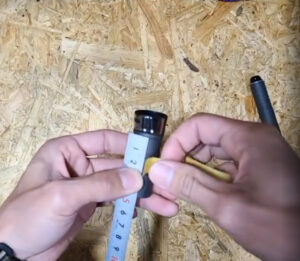
Cut with a hacksaw.
When cutting, rotate the piece to create a circular guide and then make a cut.
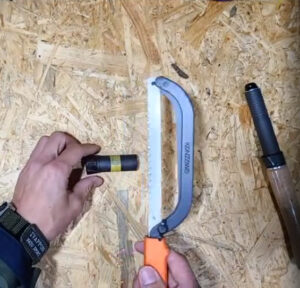
Cutting is complete.
There is some sticking on the cut surface, so we will clean it up.
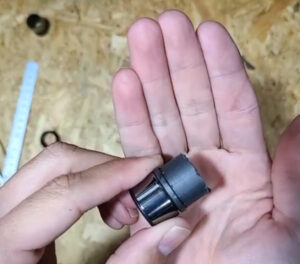
We will clean it up using sandpaper etc.
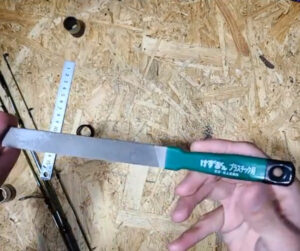
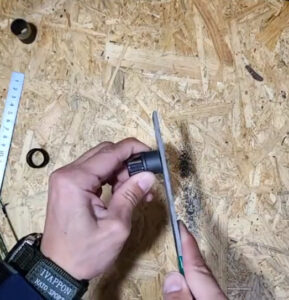
Once the cross-section processing is complete, the next step is bonding.
Step 2 Gluing the aluminum parts
Mix up a 5-minute epoxy bond and apply it to the inside of the metal fittings and the outside of the hood pipe.
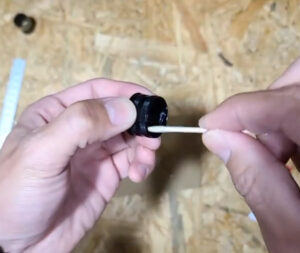
Insert it slowly, turning it around so that the glue spreads evenly.
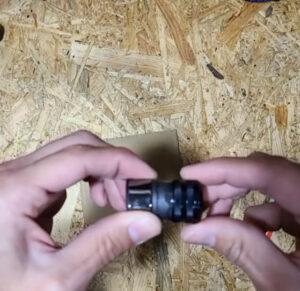
Wipe off any excess glue with a tissue soaked in alcohol.
You can also use wet wipes instead!
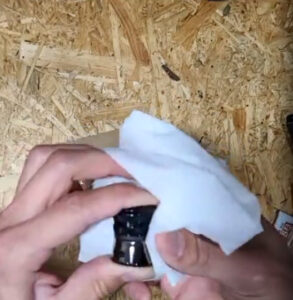
Once the adhesive has hardened, your customization is complete!
Such an easy customization.
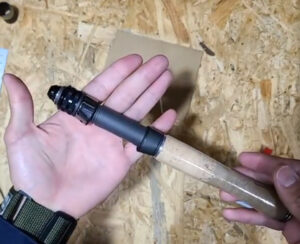
Still, it does change the impression completely.
It no longer looks cheap and looks cooler!
Custom Ferrule Zoom Safari
If you use ferrules, you will not be able to use the original grips.
I'm going to customize it so that it can be attached to the Hitotoki Works grip ( `ー´)ノ
The part where the ferrule is attached is the grip insertion part of the #3 butt part.
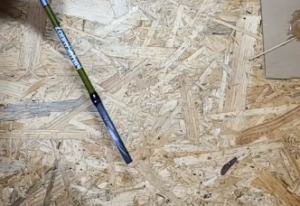
Step 1 Measure the outer diameter of the ferrule attachment part
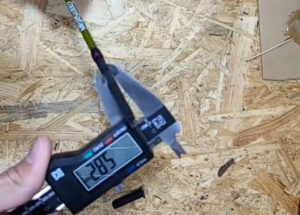
Use a caliper to measure the ferrule attachment part.
When I measured it, it was about 5.8 mm.
Hitotoki Works sells inner ferrules in sizes 5.6mm, 6.2mm, and 7.2mm.
Therefore, I chose the size [6.2mm] which can fit 5.8mm.
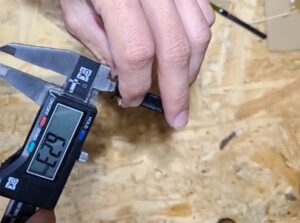
Step 2 Cutting the Blanks
Since we want it to fit snugly around the decorative wrap, we'll cut off the excess length.
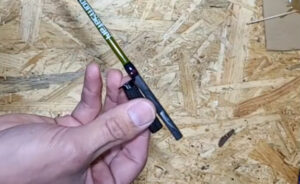
If you insert it as is, it will stick out this length.
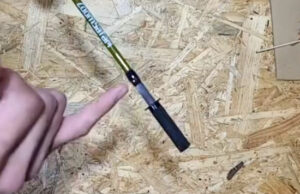
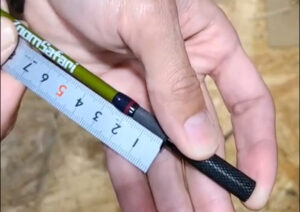
Approximately 16mm.
Make a mark at 17 mm to allow for some leeway.
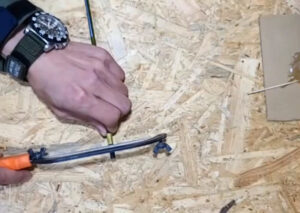
Cut it with a hacksaw, just like the hood nut.
Carbon material has vertical fibers, so if you don't rotate it while cutting, the fibers may come off when you cut it off, so be careful (>_<)
Step 3: Filling the gaps
Once the cutting is complete, the next step is to fill in the gap between the ferrule and the blank.
If this step is not done properly, clicking noises may occur, so adjust it a little tightly before gluing.
This time, we will use the thin type of thread that is also used for guide winding, and wind it in a dense -> spiral -> dense pattern so that the adhesive will stay in place.
Unlike guide winding, if you tuck the end of the thread in at the beginning and end of the winding, that part will become thicker, so we will secure it in place with instant glue.
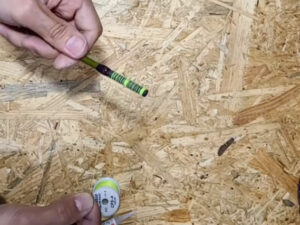
Once you've finished wrapping, secure it all together with instant glue.
At this time, check that the adhesive is completely dry by touching it with your fingers, then temporarily assemble the ferrules to check how well the gaps are filled.
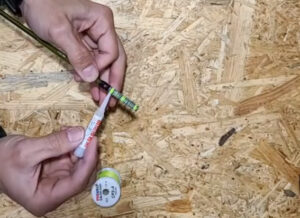
Step 4 Attaching the ferrule
Once you have confirmed that there is no wobble, secure it in place with two-component epoxy glue.
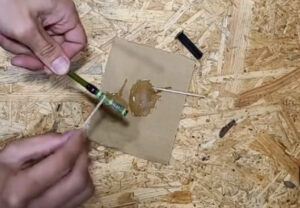
Apply glue to the inside of the ferrule and to the blank, then insert it slowly while turning it.
The adhesive will come out as shown in the image below.
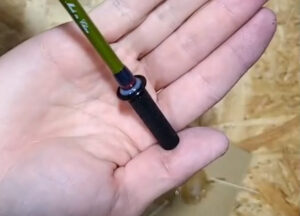
Wipe off any excess adhesive thoroughly.
Even after wiping it off, the air trapped inside the ferrule may push it back in, so keep a close eye on it until the glue cures!
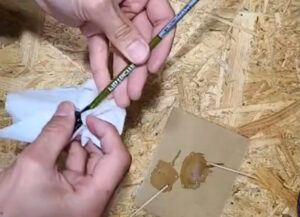
Once the adhesive has hardened, it's done.
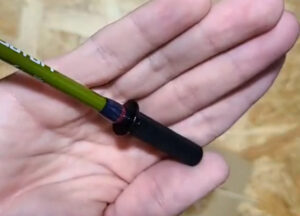
For now, I can attach it to a spinning grip and use it!!
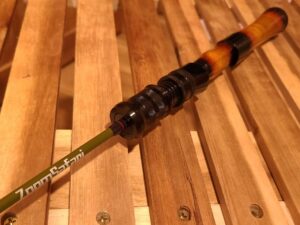
Spinning rod custom bait
Finally, we will turn the spinning rod into a baitcasting rod!
If you buy one for bait, you can attach it to the Hitotoki Works bait grip just by attaching the ferrule, but they weren't on sale when I worked on it... ^_^;
Also, I'm going to customize some spinning rods that are lying around at home, hoping to turn them into bait and bring them back to life!!
Step 1 Remove the three guides from the bat
Just like baitcasting rods, spinning rods have the same tip guides at the end.
Therefore, by replacing the three lower guides with bait guides, it can be made into a bait specification (>_<)
The new guide is as follows:
●PKTSG5.5 1 piece
●PLKWSG6 1 piece
●PLKWSG8 1 piece
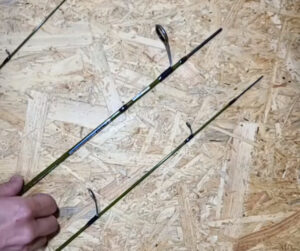
First, use a cutter to scrape off the threads on the guide foot, being careful not to damage the blank.
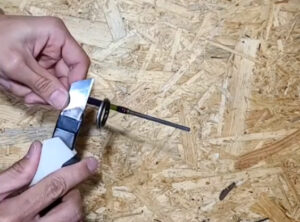
When I removed the guide, I found traces of hardened epoxy coating!
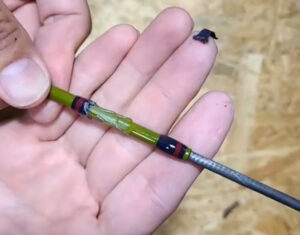
The coating is hard and difficult to remove the threads, so heat it with a hair dryer to soften the coating and then peel off the threads.
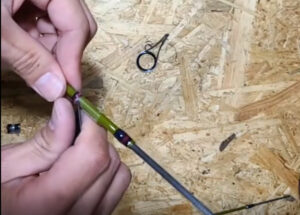
Once the threads have been removed, clean off any remaining coating from the blank.
It's impossible to make it 100% clean, but if you heat it with a hair dryer and rub it with a plastic ruler, it will become fairly clean!!
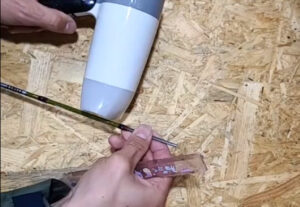
This time we will attach a bait guide to the removed part.
Therefore, both feet are guides, but since only the area between the guide's feet is exposed, I tried to clean up only the center part.
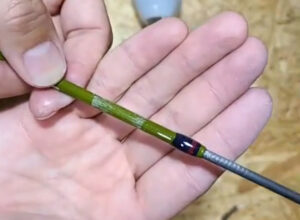
Step 2: Installing the guide
I'll install it like this ( `ー´)ノ
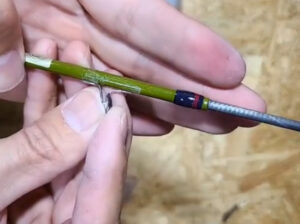
For appearance's sake, we'll install the guide ring so that it's above the rod name, and then temporarily secure it in place with thin strips of masking tape.
Be sure to apply the masking tape to the base side of the guide foot!
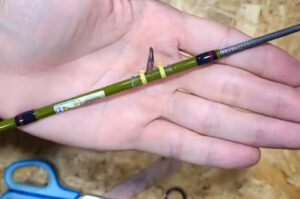
This time, the thread length was decided to be 10 mm.
Use masking tape to make a mark 10 mm from where the end of the roll will be.
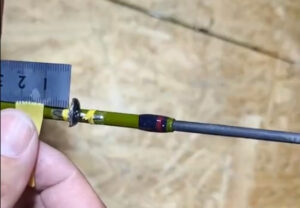
This time, we will use Prowrap's NCP Thread 325 (red), which is likely to be close to the original color, and Nylon Thread 479 (dark blue).
I thought it was close to the original color, but the blue turned out a bit darker than I expected... ^_^;
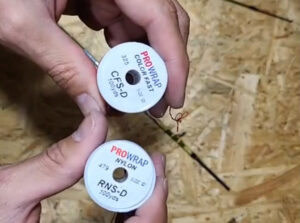
Thread wound just like the original.
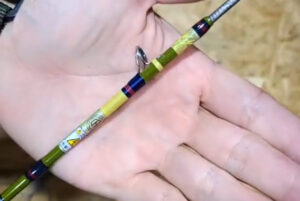
For details on how to wind threads, please refer to the blog below!
https://hitotokiworks.com/apps/note/blog/2996/
Thread winding is complete!
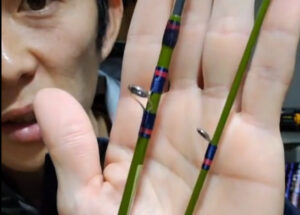
Guide Coating
Once the thread winding is complete, we will coat the guides!!
This time, there are only three coating locations, so we will only extract three memories.
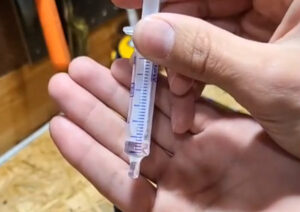
Take equal amounts of solution A and solution B and mix them thoroughly.
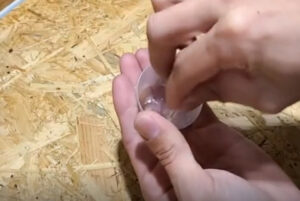
Set the rod on the coating motor.
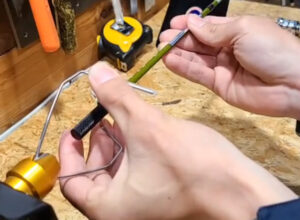
Brush painting.
A tip for coating is to slide the brush sideways so that the tip of the brush is just touching the surface lightly to achieve an even finish.
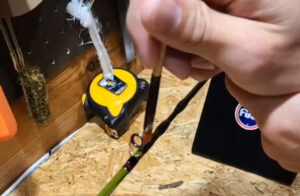
Once you've finished painting, dip the piece three times at a height just above or below the flame of an alcohol lamp to remove any air bubbles and then adjust the shape.
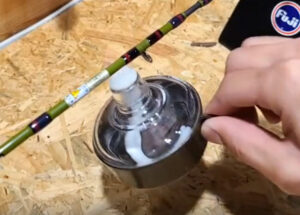
The thread after the first coating process.
I plan on using it soon so I applied it a little thickly.
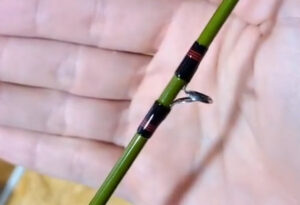
Apply two more coats, leaving at least 8 hours between each coat, and it's done!

This work was broadcasted on Instagram Live.
The videos are still available, so if you would like to see more details, please check out the videos posted on Instagram on March 26th and 27th, 2021.
> Hitotoki Works Official Instagram
Time to go fishing!!
While camping at an old house owned by a friend, next to a mountain stream, I tried out the Zoom Safari Custom in my free time!
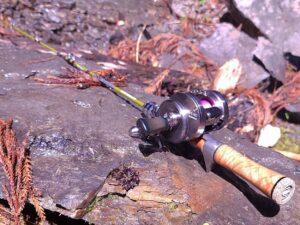
The tip guide that I haven't replaced is a cheap type and large in size, so I'm worried about the line getting tangled... ^_^;
I was a bit concerned about the slow return of the tip and the lack of sensitivity due to the weight of the guide, but this performance is truly amazing for a 10,000 yen rod!!
It's a very usable rod!!
Moreover, it seems that a bait model has also been released, so if you make it into a ferrule, it will no longer look cheap, and I think it can be used as a spare rod or for headwater fishing.
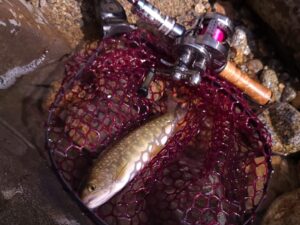
The fish on it also looks good.
Please use this as a reference and enjoy rod building!!
