Length Changes! Grip Making (Fuji Grip Edition)
Rod customization expands the possibilities of your rod.
We will introduce how to make a grip that allows you to change the length of the grip with one touch!
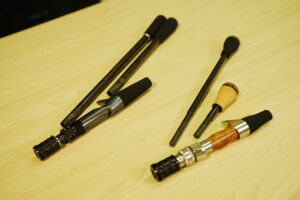
Making the Fuji Grip
This time, I will explain how to make the Fuji grip shown on the left side of the photo.
You can see how to make the light grip on the right in the blog below.
▼Click
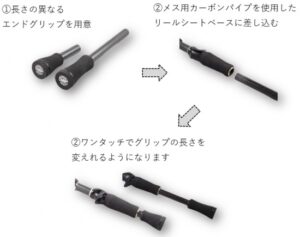
How do you make a grip that varies in length?
This time, by using a detachable parallel joint carbon pipe , it is possible to create a grip with variable length.

By preparing several end grips of different lengths and inserting them into a grip that uses a female carbon pipe, you can change the length with just one touch.
Materials used
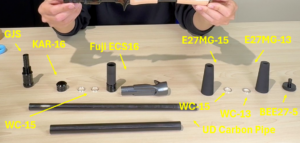
③Fuji ECS-16
The reel seat, grip material, and winding check (decorative ring) can be changed in material, shape, and color to suit your taste!
Preparation 1: Making the reel seat parts
This time, we will use KAR-16 for the hood parts.
Assemble the KAR-16 temporarily and measure the length of the excess part of the hood nut.
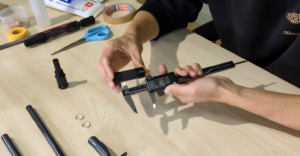
Once you have measured the area to be cut, mark it with masking tape and cut it out using a tool such as a hacksaw.
It's easier to cut the part while rotating it.
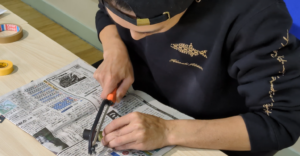
If you temporarily assemble the KAR-16 , it will fit perfectly onto the hood nut.
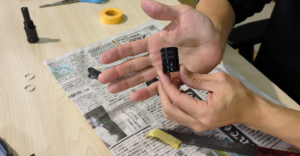
Use epoxy bond to apply adhesive to the hood pipe and the inside of the KAR-16 , then slowly turn them to glue them together.
If the gap is large, adjust it with spacer tape or apply more adhesive until you feel resistance when attaching.
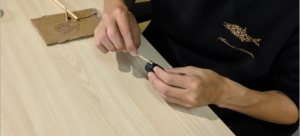
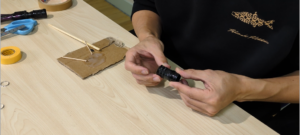
The production of the reel seat parts has been completed.
This time, the screw part of the reel seat has also been cut short in advance.
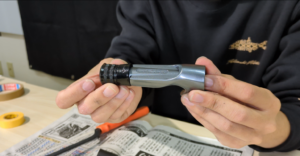
Preparation 2: Cutting the carbon pipe
Cut the female carbon pipe with an outer diameter of 15 mm to the appropriate length.
To determine the length to cut, we temporarily assemble each component and check that the reel fits securely.
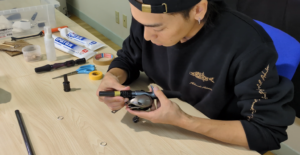
Once the length to cut has been decided, cut it using a tool such as a hacksaw.
As with the hood nut ring, cut the part while rotating it.
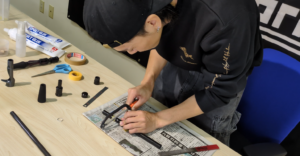
Gluing step 1: Gluing the grip
In order to fit the end of the E27MG-15 used for the rear grip and the end of the female carbon pipe perfectly, I will start gluing from the bottom up.
First, apply 30-minute two-part epoxy bond to the inside of the E27MG-15 . (You can also use 5-minute type.)
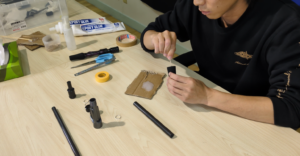
Apply adhesive to the carbon pipe side as well, to the length of the grip.
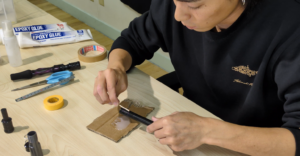
Insert the grip while slowly turning it.
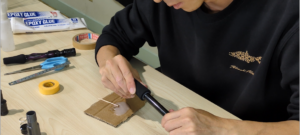
Finally, install the WC-15 .
*Depending on the product, the outer diameter of the female carbon pipe may exceed 15 mm. In that case, please widen the inner diameter with a file or similar tool.
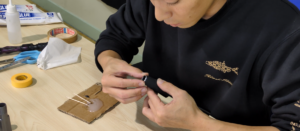
Gluing step 2: Gluing the reel seat
After cleaning up any excess glue, attach the reel seat.
Apply adhesive to the inside of the reel seat and the outside of the carbon pipe.
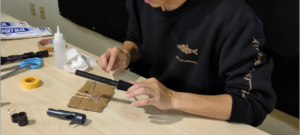
Insert the reel seat while turning it slowly.
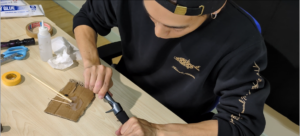
As shown in the photo, glue will overflow into the gaps in the blank touch area and the exposed carbon pipe at the top, so wipe it off thoroughly with a wet tissue or something similar.
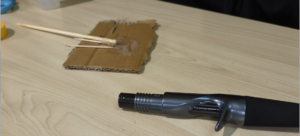
Gluing process 3: Making end grips
While waiting for the reel seat adhesive to harden, we will make the end grips.
First, as a preliminary step, use spacer tape to adjust the gap between the end cap and the male carbon pipe .
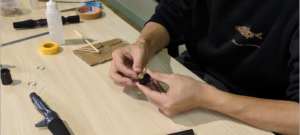
Once the preparations are complete, glue the E27MG-13 with the WC-13 already attached.
*Depending on the product, the outer diameter of the male carbon pipe may exceed 13 mm. In that case, please use a file or similar tool to expand the inner diameter of WC-13 .
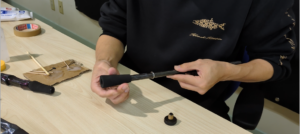
Glue the WC-13 and wipe off any excess glue.
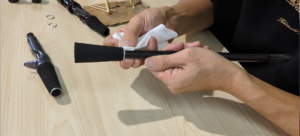
Finally, glue on the end caps and your end grip is complete!
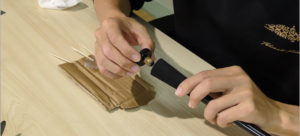
Bonding work 3 Bonding GJS
This is finally the final step.
Assemble the top part of the reel seat.
First, glue the WC-15 in two places.
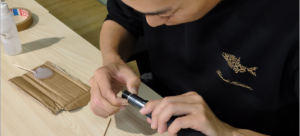
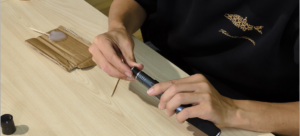
The last component , GJS, is glued in place to finish.
Apply adhesive to the inside of the carbon pipe.
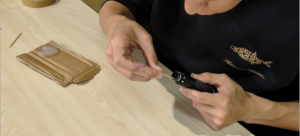
Next, apply adhesive to the shaft of the GJS and insert it while turning it slowly.
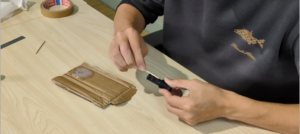
That's it!
We have now completed the creation of a grip that can be adjusted in length to be useful for large trout and salt fishing.
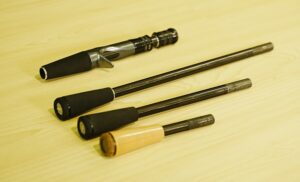
When you make your own tackle, you'll be overcome with the urge to go fishing right away.
This is a special, original rod created by our staff member Muchan for the first time.
I enjoyed some rockfish fishing over the weekend and caught a very impressive sculpin!!
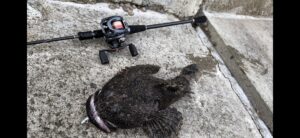
Congratulations on the launch of your first original rod!

