Grip-replaceable trout handle
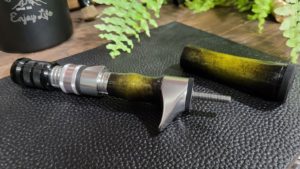
A customer previously taught me how to make a trout handle with replaceable grips.
I'm making it little by little in between other work...
And finally, it's finished!
The previously introduced customer blog is here:
▼Click
How to make your own
Now, let me show you how to make a handle with interchangeable grips.
First, we need to procure the materials that will make up the grip replacement mechanism.
Titanium bolts and high nuts allow grip replacement
Titanium bolts and nuts are required to make the grip replaceable.
It doesn't have to be made of titanium, but I purchased a titanium one from Monotaro to make it as light as possible.
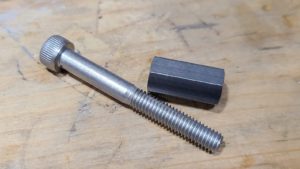
Titanium high nut
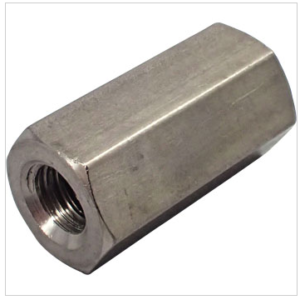
I purchased an M6 type nut with a total length of 20 mm.
This height nut is embedded into the grip side and glued.
I purchased one with a total length of 20 mm because I felt that the strength would be weak if the total length was not sufficient.
It's quite expensive at ¥1,590... ^_^;
Titanium Bolt
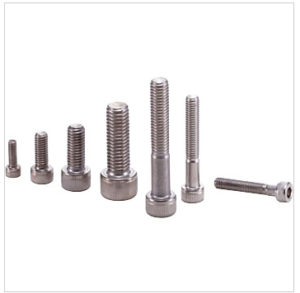
I purchased an M6 type 50mm titanium bolt.
It is used by embedding it inside a carbon pipe with an inner diameter of 9 mm that is glued to the reel seat.
I wanted something with a slightly smaller hexagonal part, and this was the only one I could find so I bought this.
This one is quite expensive for titanium at 1,190 yen.
Carbon pipe with outer diameter of 8 mm
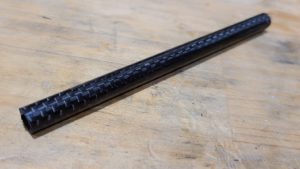
I purchased a carbon pipe with an outer diameter of 8 mm and an inner diameter of 6 mm.
It is used as a spacer to fill the gap between the 9mm inner diameter carbon pipe inside the reel seat and the 6mm outer diameter bolt.
Purchased on Rakuten for 590 yen.
Assembly Method
Now we finally start assembling.
First, measure the weight of the titanium parts!
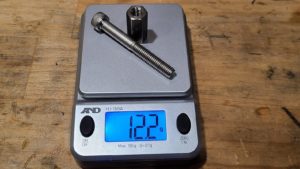
It's quite lightweight at 12.2g.
Stainless steel is cheaper but will make a big difference in weight.
STEP 1 Cut the hexagonal part of the titanium bolt
The one I purchased this time has an outer diameter of the hexagonal part of about 10 mm.
The inner diameter of the carbon pipe that fits inside the reel seat is approximately 9 mm.
Since it wouldn't fit in as it is, we had to cut the hexagonal part with a hacksaw!
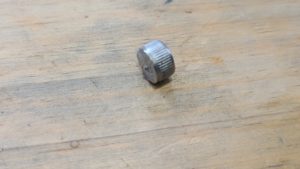
*When cutting, it will be easier to fix the bolt in a vice and then cut.
STEP 2 Glue the bolt to the carbon pipe with an inner diameter of 6 mm
A spacer pipe to fill the gap between the 9mm inner diameter carbon pipe inside the reel seat and the 6mm outer diameter bolt.
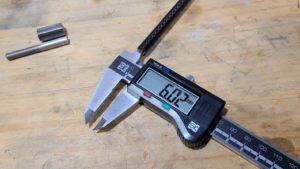
A titanium bolt with the hexagonal part cut off is attached to this carbon pipe using two-component epoxy glue.
*When gluing, applying glue to the inside of the carbon pipe as well as the bolts with a toothpick or similar will help prevent poor adhesion.
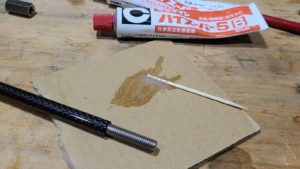
The glue was glued so that the exposed threads and the end of the carbon pipe were flush with each other.
STEP 3 Glue the carbon pipe and EVA arbor to the wooden reel seat
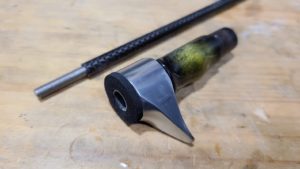
The reel seat in the image already has an 11 mm outer diameter carbon pipe (3KCP40-11) , trigger, and EVA spacer (WESP-24) glued to it.
I forgot to take pictures of the gluing process... <(_ _)>
Glue the EVA spacer and the carbon pipe so that their surfaces fit together perfectly.
*The method for attaching the trigger etc. has already been introduced in the previous blog [How to make a trout grip using a wooden reel seat], so we will omit that here.
STEP 4 Cut the carbon pipe with the bolts
Now, let's cut the carbon pipe so that it fits into the center of the reel seat.
This time, I cut it to a length of 45 mm.
*If you have a router with an industrial diamond cutter, you can easily cut carbon pipes, but you can also use a hacksaw.
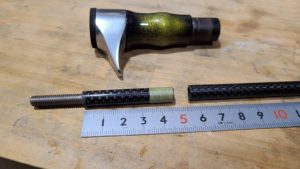
I think a length of about 30 mm would probably be sufficient in terms of strength, but I decided to make it 45 mm long just to be safe.
STEP 5 Glue the reel seat
Before gluing, fill the 1 mm gap between the 9 mm inner diameter (11 mm outer diameter) carbon pipe glued to the reel seat and the carbon pipe with the bolt (8 mm outer diameter) with spacer tape.
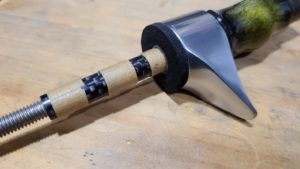
Make sure the fit is neither too tight nor too loose, then glue it together with two-component epoxy glue.
At this time, be sure to apply adhesive to the inside of the carbon pipe inside the reel seat as well before inserting it.
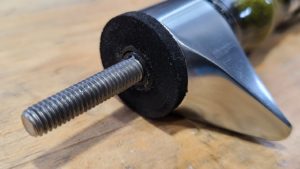
Fit the surfaces together firmly and the adhesion is complete.
STEP 6 Glue the height nut to the wooden grip
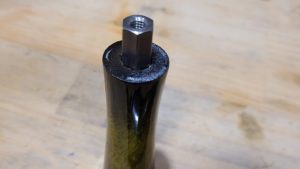
I purchased a high nut that was perfectly matched to the wood grip's inner diameter of 11 mm, so there was no need to adjust the inner diameter.
Apply two-component epoxy bond and bond the surfaces together firmly.
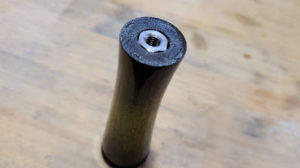
completion!
STEP 7 Gluing the reel seat screw and end parts
Next, glue the reel seat screw and end piece.
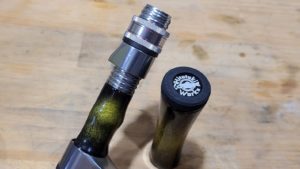
When using end parts with logos, make sure to tighten the end grips firmly and check the direction of the logo before gluing.
We do not recommend using end parts with logos.
STEP 8: Bonding the receiving parts of the Grip Joint System
This is finally the last step!
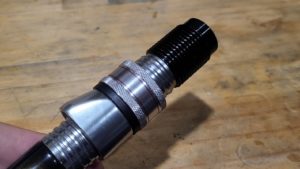
Once the receiving part of the grip joint system is glued to the reel seat screw, it's complete.
Steps 7 and 8 have already been introduced in my previous blog [How to Make a Trout Grip Using a Wooden Reel Seat], so I will skip them here.
The trout handle with interchangeable grips is complete!
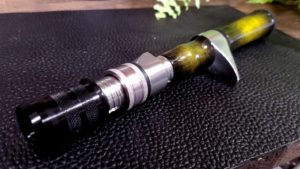
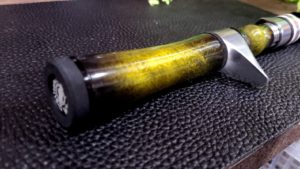
The special handle has been finished with a gold wrap paint applied by a guitar craftsman!

The grips are replaceable, and I've never seen a handle like this before.
I also made a more subdued version using a blackwood grip!
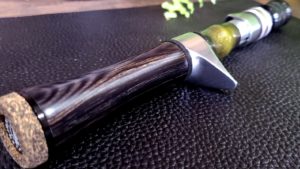
The handle weighs approximately 114 grams, thanks to the titanium parts, making it quite lightweight.
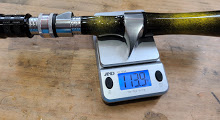
This was an introduction to making a simple and fun handle that can be completed in about an hour.
This time we used a strong wooden grip, but if you would like to try it with a cork grip, please note that you will need to embed a carbon pipe with an inner diameter of 11.5 mm or more into the cork grip to reinforce its strength .


