Tsulino Glass Trout Rod Ferrule
Hello!
This is Kamimura from Hitotoki Works!(^^)!
Many people are enthusiastic about glass rods when it comes to mountain stream fishing.
Many people originally used the Trout Ranger for stream fishing, and last year it became popular to make ferrules so that they could be combined with our grips.
↓Click here for the Masu Ranger ferrule blog↓
This time, we will introduce a glass rod with performance and design that is likely to surpass the Masu Ranger, and also show you how to customize it.
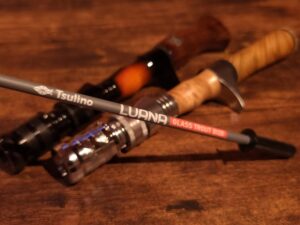
Grass trout rod LUANA
The other day, Tsulino, the private brand of Ishiguro, a fishing tackle chain that operates mainly in the Tokai region, where I used to work, released a stylishly colored glass trout rod!
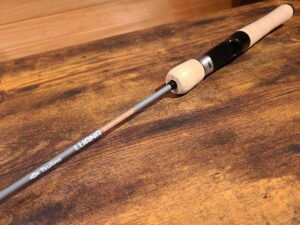
The grip is also made of cork and is simple and stylish.
Above all, isn't the color of the blanks great?
Personally, it's my favorite color!
Comparison with Trout Ranger
In terms of performance other than design, what are the differences between this and the Masuranger?
This is based on my personal opinion, but I'd like to introduce it to you.
<Difference #1>
●Lots of guides!!
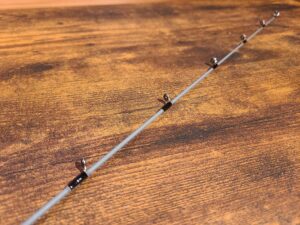
It's a very important part!
"What are the benefits of having a large number of guides?"
Having a large number of guides covers the disadvantage of glass material, which is its low sensitivity, and at the same time improves hooking performance and power transmission during action!
What's more, you can also use the secret technique of lowering the tip to create the action you want!
Anyway, do your best.
The original guide is a cheap Chinese-made guide, but I think that's to be expected given the price range and I think it's perfectly usable.
<Difference #2>
● The action is slow
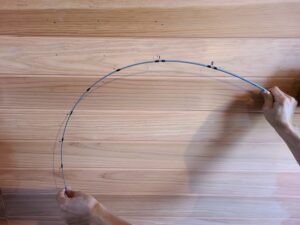
The bent curve in the photo is the tip cut off by one section, but the tip of the Masuranger is just too soft... (´;ω;`)
If the tip is too soft, too much power will be absorbed during lure action, making it difficult to produce a sharp, sharp action.
Moreover, it is difficult to hook the fish.
I think that LUANA's original state is enough for stream fishing, but it still feels a little soft, so I recommend cutting off one section!
If you cut one section, it will get closer to the action of the DIY glass blanks released by Hitotoki Works!
Tsulino LUANA ferruled
Now, let's get to the main subject of ferruling!
Step 1 Cut on the grip
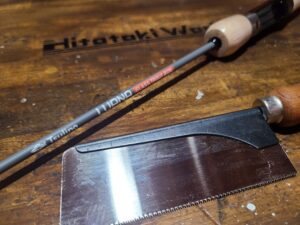
It's a pretty cool grip, but I'll cut it off without hesitation (`ー´)ノ
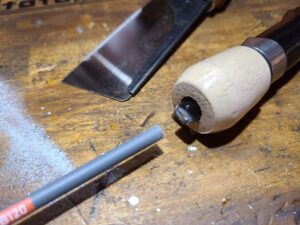
This time, we will use a saw to cut the aluminum part attached to the front grip as close as possible.
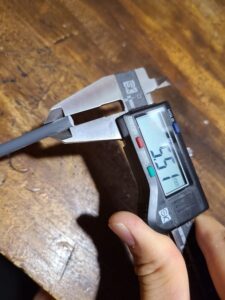
The outer diameter of the cut part is approximately 5.5 mm.
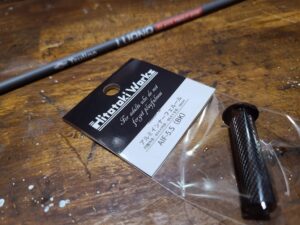
This means that an aluminum inner ferrule with an inner diameter of 5.6 mm will fit.
There is a silver version in the lineup, but I chose black because it was in low stock ^_^;
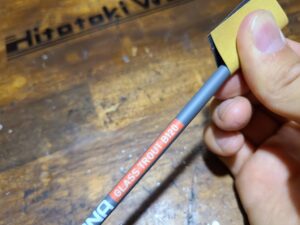
When I inserted the ferrule, I thought, "Huh?"
It's too tight and won't go in...
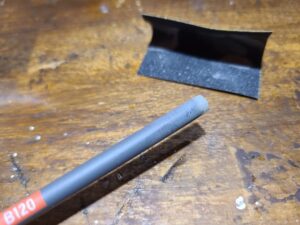
Use #120 coarse sandpaper to fine-tune the base area.
Sandpaper of around #400 would be fine, but I chose coarse sandpaper to prioritize work speed.
Step 2 Cut the tip
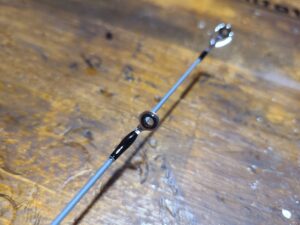
It's fine to use it as it is when it's sold, but I personally feel it's still too soft, so I'll cut off one section of the tip.
This is a customization method that is possible since the rod has many guides.
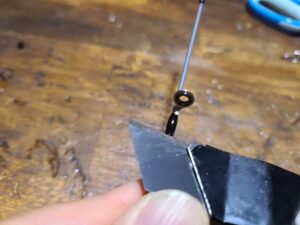
To remove the guide under the top guide, heat it with a lighter and then use a cutter to scrape off the threads on the guide feet to remove the guide.
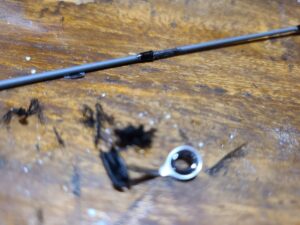
It's fine to remove all the threads, but in this case I left a few in to make it look a little better.
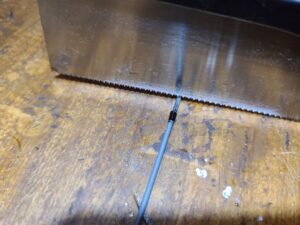
Measure and cut the insertion length of the top guide!
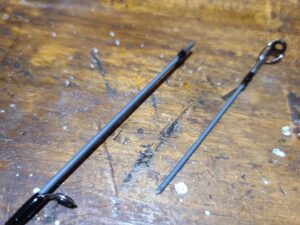
One section, cutting is complete.
If you attach the Hitotoki Works 235mm grip, it will be about 108cm, or about 3 feet 5 inches.
Top guide and ferrule glued together
All that's left is to glue the top guide and ferrule together.
Since the outer diameter of the tip of the top guide has thick becomeer due to the cutting process, it is impossible to reuse the original top guide, so we will install a new top guide.
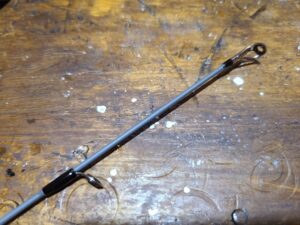
The top guide selected is PLGST4.5-1.6 .
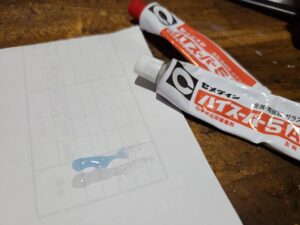
The top guide and ferrule are bonded in one go using a two-component epoxy bond .
When gluing, be sure to apply glue to the inside of the parts you will be inserting!
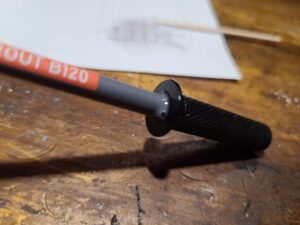
Wipe off any excess glue using a wet tissue or similar.
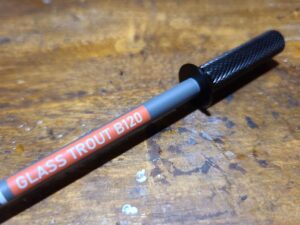
- Check that the guide is not misaligned.
- Check to see if the ferrule is being pushed back by air remaining inside.
Pay attention to these points, wait about 5 minutes for it to harden, and it's done!
It was a simple customization process that took about 20 minutes!
Attached to the Hitotoki Works grip
Since the rod is now equipped with Champion ferrules, it can be attached to Hitotoki Works grips.

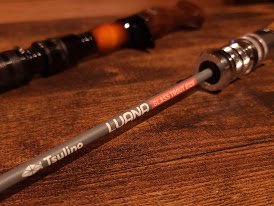
The grip is also much cooler, making the rod stand out even more.
It's hard to believe that this is a rod that costs around 2,500 yen ^_^;
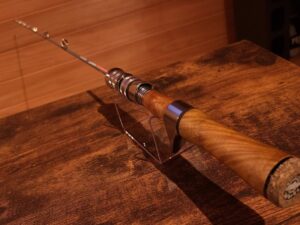
Should I sell this customized model as well?
The result is a glass rod with such excellent action and design that you'll be amazed!
If you are interested, please give it a try.
If you would like to try making one from scratch using your own blanks, please check out the blog below.


