In the previous blog, we introduced how to attach guides to a trout rod for mountain stream lures.
▼Click
This is a sequel to the guide installation.
We would like to introduce you to [Coating] and [Installation of Champion Ferrules].
↓Image of the finished rod to be produced this time↓
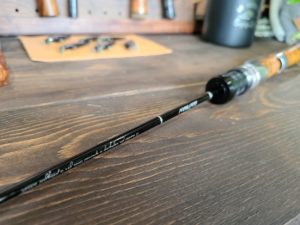
Tools used for epoxy coating
What tools do I need to apply epoxy coating?
I think most people, even anglers, don't know about it.
First, I will explain the tools necessary for coating.
Epoxy Coating Agent
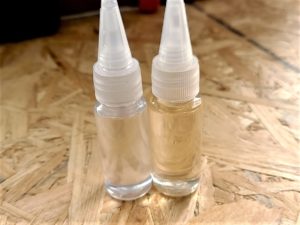
An epoxy-based coating for coating threads wound around guides and spools.
Unlike epoxy bond, it is a nearly colorless material with low viscosity.
Repeated coating in about three steps will result in a beautiful finish.
*The product in the picture is a coating agent currently under development that is incredibly colorless and produces a beautiful finish!
Measuring cup and toothpick
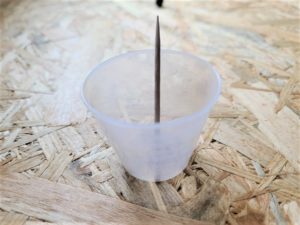
A container for holding epoxy coating material.
Stir parts A and B together with a toothpick.
Brush
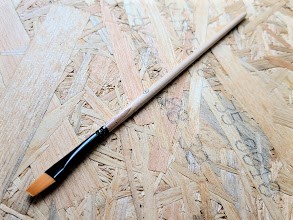
A brush used to apply coating agent to threads.
You can use other brushes besides the dedicated one, but nylon brushes have the right amount of tension and are easier to use.
Coating motor
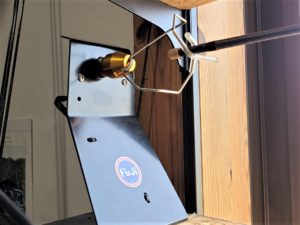
Epoxy coatings take about 8 hours to harden to a certain extent and 24 hours to fully cure.
If you don't rotate it for about 8 hours, the coating will drip and the finish will not be nice.
It is possible to coat without a motor, but it will require many very thin coats.
The finish won't be pretty either.
The price is reasonable at 5,500 yen (excluding tax). In the past, the only products available were those costing around 10,000 yen, but since the release of this motor, the number of people trying their hand at rod building has increased significantly.
Step 1: Prevent the zipper from coming loose
After the guides have been attached, the rod is hung on a motor and the coating is brushed on (about 3 to 4 times) to coat the guides and decorative wraps.
First, take measures to prevent the chuck from coming loose before hanging it on the motor!
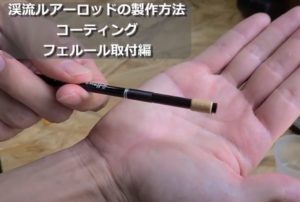
If this process is not performed, the rod may come off the motor while the coating is drying, causing the coating to fail.
Create a stopper by wrapping spacer tape or similar around the base of the blank.
Even if the motor continues to rotate and the chuck gradually shifts, this stopper will prevent the chuck from coming off.
Step 2: Mixing the epoxy coating
Once the rod is attached to the motor, the coating process can begin.
The epoxy coating is a two-part material.
Therefore, the base agent and hardener are taken out and mixed in a 1:1 ratio.
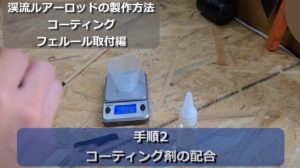
Please note that some coating products have a ratio of 1:0.8.
Step 3 Coating process
Immediately after mixing the coating agent, there will be air bubbles, so leave it for about 2 minutes to allow the air bubbles to escape.
Brush painting
Once most of the air bubbles have been removed, apply the coating agent with a brush.
*The direction of rotation of the motor can be changed by repeatedly turning it ON and OFF!!
The coating process is repeated 3 to 4 times to complete.
If you try to apply the paint thickly, air bubbles may remain inside and the finish may fail, so apply thin coats repeatedly.
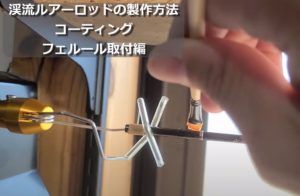
High humidity can cause the dried coating surface to become bumpy or cloudy, so it's best to work on a sunny day to avoid mistakes.
If you absolutely have to work on a rainy day, it is best to dehumidify the area before working.
If the indoor temperature drops below 10 degrees, care should be taken, as the coating surface may lose its luster or may not harden properly.
Heat with an alcohol lamp
Once all coating areas have been applied, heat them by passing them over an alcohol lamp three times.
As the coating heats up, its viscosity increases, making it easier for it to soak into the threads and creating a smoother surface.
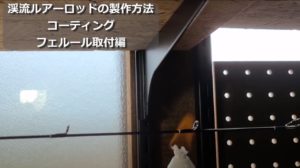
If you heat it too much, the coating will boil, so hold it over the flame for just a moment, about three times per area.
The coating agent should flow into the guide area between the frame and the blank, so make sure it is flowing properly.
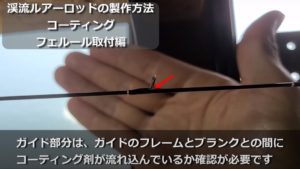
If the coating does not flow to the back of the frame, you applied too little, so apply another coat and heat it under an alcohol lamp.
It takes about 24 hours for it to completely harden, but if you rotate it for about 8 hours, the effect will be quite advanced and you will be able to apply additional coats.
Once the second coating is complete, if there are any bumps or splinters on the surface of the coating, scrape them off with a cutter.
After a total of 3 to 4 coats, it's complete!
Step 4 Installing the Champion Ferrule
Once the coating process is complete, all that's left is to install the ferrules.
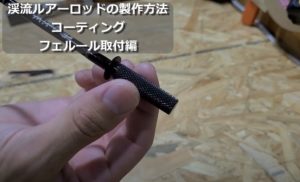
Use a ferrule with an inner diameter of Φ5.6.
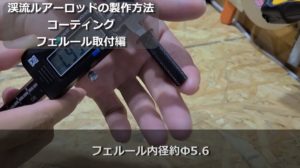
Inner diameter adjustment work
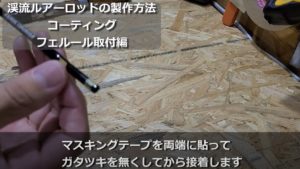
Since the outer diameter of the blank is about Φ5.4, there will be some wobble if installed as is.
Therefore, we apply thin masking tape to both ends to eliminate any wobble, and then glue them together with a two-component epoxy bond.
*If any wobbling occurs, it may shift from the center or an abnormal clicking noise may occur even after gluing, so it is better to do this to avoid failure.
Adhesive with two-component epoxy bond
To glue the ferrules, we use the same two-component epoxy bond, 5-minute type (the type that hardens after 5 minutes), that we also used to glue the top guide.
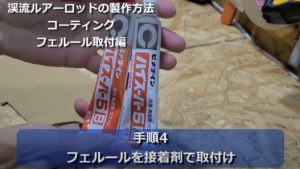
Take out about 2 cm of the base agent and hardener in a 1:1 ratio and mix thoroughly for about 30 seconds.
Apply a small amount of the mixed adhesive to the inside of the ferrule.
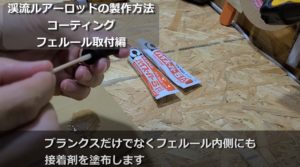
After applying adhesive to the blank, insert the ferrule while slowly turning it.
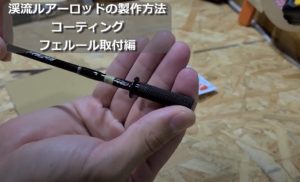
When fully inserted, adhesive will protrude, so wipe it off thoroughly with a tissue soaked in alcohol or a wet tissue.
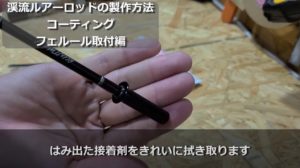
Finished!!
The remaining air inside may naturally pull it back into place, so keep an eye on it for about 10 minutes while it hardens, and then it's done!
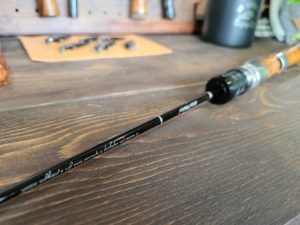
By installing the Champion ferrule, it can be attached to a grip equipped with the Grip Joint System.
lastly
Champion ferrules have a standardized outer diameter of the chuck part (the gripping part) of around Φ9.0 to Φ9.3.
There are a few Champion manufacturers that use their own unique ferrules that are not regulated by the rules.
In that case, please note that it cannot be attached to a grip equipped with the Grip Joint System.
We have also created a video that shows you how to install the coating and ferrules introduced here, so we hope you will find it useful.
![[DIY] Making a trout rod for mountain stream lures (coating and champion ferrule installation)](http://shop-hitotokiworks.com/cdn/shop/articles/20200713_092816-300x225.jpg?v=1730861400&width=1100)
