Hello.
This is Kamimura from Hitotoki Works.
Low elasticity short length mountain stream lure rod [RUNTMAN]
This time we have the low-elasticity carbon short rod [RUNTMAN], which sold out immediately.
The finished products for the 2020 production run have sold out by preorder only, but we are also selling blanks individually for rod building, and as of June 29, 2020, we still have some in stock!!
I will show you how to make a bait finesse rod for mountain stream lures using this Landman blank.
Rod building for a bait finesse rod for mountain stream lures!
This time, we will be using a rod production method recommended by Hitotoki Works that uses the grip joint system, which allows the rod and grip to be detached.
With this system, if you are only making the rod part, there is no need to make a grip.
The rod side is made by attaching only a champion ferrule to be attached to the grip, so we will mainly explain how to attach the guide.

Please see the blog below for instructions on how to make a trout grip that uses the Grip Joint System.
▼Click
Tools needed for building a trout rod
What tools do I need to make a rod?
I think most people have no idea.
First, I will explain the tools required to install the guide.
Blanks
The basic parts of a rod made from materials such as carbon or glass.
The differences and characteristics of the materials are explained in the blog below.
https://hitotokiworks.com/apps/note/blog/1269/
This time, we will use a RUNTMAN blank made of low-elasticity carbon and thick design.
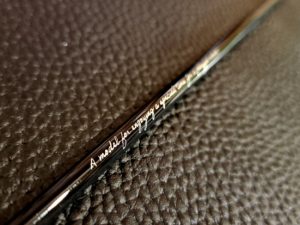
guide

The guides used are a Hitotoki Works original guide set designed for short rods in the 4-foot class, such as the Landman.
Titanium torzite is used from the tip to the belly to reduce weight and improve sensitivity, operability, and casting distance.
The two butt guides, which do not benefit from the weight reduction, are made of stainless steel and use an original guide set that has been significantly reduced in price.
thread
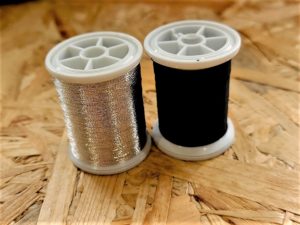
Thread for winding guides only.
It can also be used to wrap decoratively around the butt.
This time, we will add a silver pin line (decorative winding) just like the product, and wrap the main thread in black.
Masking tape
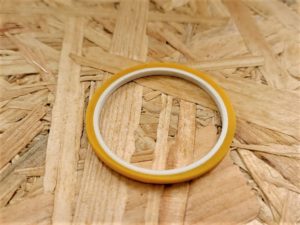
Used to temporarily fasten the guide.
You can either buy thinner tape to use the smaller guides, or cut masking tape into strips to use.
You can use cellophane tape instead, but it may be a little difficult to remove.
Scissors
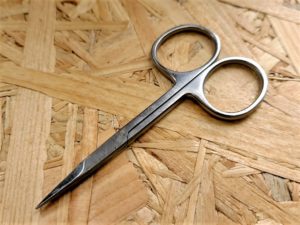
Used to cut threads.
Since the work involves cutting the thread at a very close distance, it is easier to use a small type with a pointed tip.
Two-component epoxy bond
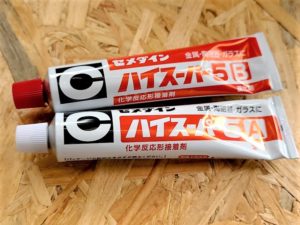
Epoxy bond to secure the top guide.
It can also be used to assemble grips.
Cardboard
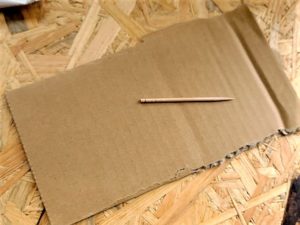
Used to mix epoxy bond.
Any thick paper such as cardboard or thick paper will do, but regular paper is thin and may soak in and stain your work surface.
About guide setting

This section explains which guides to use and where to install them.
*This time we are introducing a guide setting that is the same as the product, but it does not necessarily have to be this setting.
As explained in the equipment introduction, the guide to be used is the 4-foot class bait type from the Hitotoki Works original guide set.
Details of the guide to be used
The guide to use is detailed below.
Top guide: T-KGST4.5-1.5
#1 Guide: T-KTSG4.5
#2 Guide: T-KTSG4.5
#3 Guide: T-KTSG4.5
#4 Guide: T-KTSG4.5
#5 Guide: T-KBSG5
#6 Guide: PLKWSG6
#7 Guide: PLKWSG8
A total of eight guides will be used.
Guide setting position
The guide intervals are as follows:
TOP-#1G: 70mm
#1G-#2G: 75mm
#2G-#3G: 80mm
#3G-#4G: 90mm
#4G-#5G: 100mm
#5G-#6G: 125mm
#6G-#7G: 150mm
Please use this as a reference.
Step 1 Gluing the top guide
Now let's install the guide.
The first step is to glue the top guide.
Mix the epoxy bond
●Pour out about 2cm of two-component epoxy bond component A and component B.
*If the amount dispensed is too small, it may result in improper distribution and poor hardening.
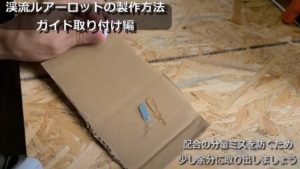
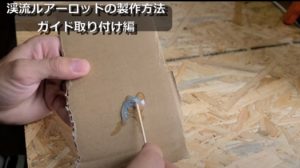
Mix thoroughly with a toothpick for about 30 seconds.
*If the mixture is not mixed properly, it is likely to not harden properly.
Insert the top guide into the blank
Apply about 1 cm of the mixed glue to the tip of the blank.
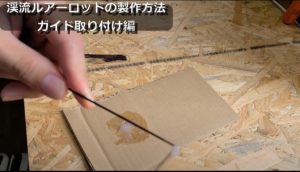
● Apply adhesive to the inside of the top guide pipe and insert it into the blank.
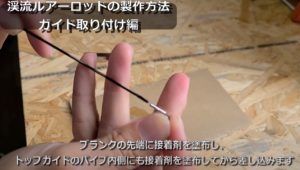
Wipe off any excess adhesive
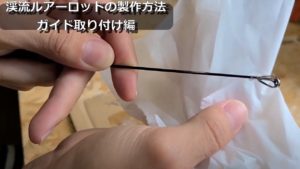
●Align the guide in the correct direction, wait about 15 minutes for it to harden, and then the top guide will be attached!
Step 2: Temporarily attaching the guide
Once the top guide has been glued in place, the other guides are temporarily attached.
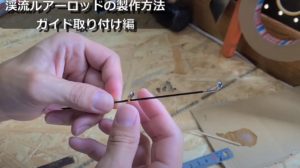
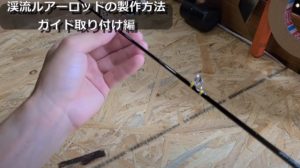
To temporarily secure the pieces in place, use masking tape cut to about 2-3 cm length.
Using the guide settings we introduced above as a reference, temporarily fasten the guides while measuring the guide spacing with a ruler.
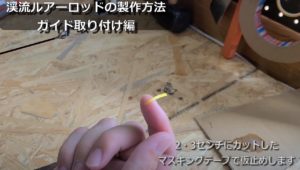
Step 3 Threading the guide
Once the guide is temporarily fixed, wrap the thread around it to secure it in place.
How to wind the thread is explained in the blog below, so I will omit the details here.
https://hitotokiworks.com/apps/note/blog/2996/
Mark the starting position of the thread with masking tape.
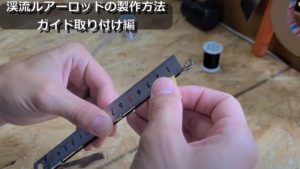
This time, the winding width from the top guide to the #4 guide is 8 mm, just like the product.
The winding width from guide #5 to #7 is 10 mm.
●Thread winding on top guide
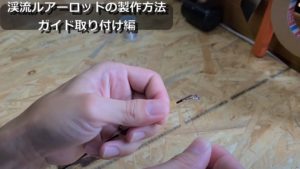
●Thread winding for one-leg guide
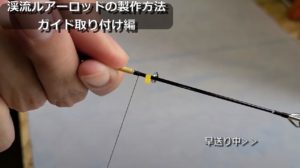
●Thread wrapping on both foot guides
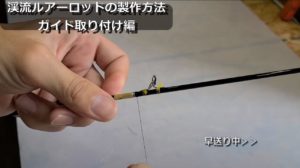
Step 4 Decorative wrapping
Once the guide thread winding is complete, the decorative winding is done.
First, start with decorative curls at the base.
This time we will attach a champion ferrule to the base part.
Therefore, the ferrule insertion length is left at 34 mm, and then decorative winding is done to a width of 15 mm.
- Mark with masking tape 34 mm from the base
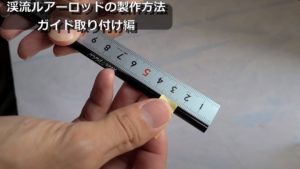
Make a mark 15 mm from the masking mark.
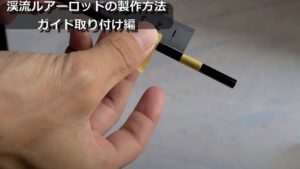
● Thread winding is performed
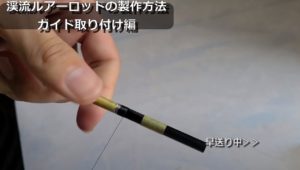
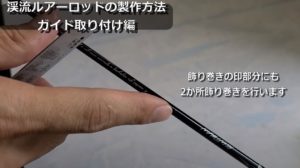
● Decorative wrapping is also done on the two areas marked with decorative wrapping.
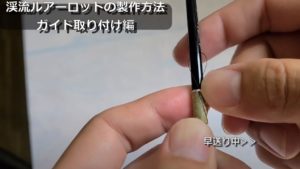
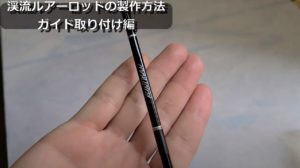
Once the decorative winding is complete, the thread winding is finished!!
This time I will end the thread blog for now.
Next time I will explain about the coating process.
I also filmed a video on how to wind the guide.
![[DIY] How to make a trout rod for mountain stream lures (Guide installation)](http://shop-hitotokiworks.com/cdn/shop/articles/110-300x168.jpg?v=1730856726&width=1100)
